
Tools
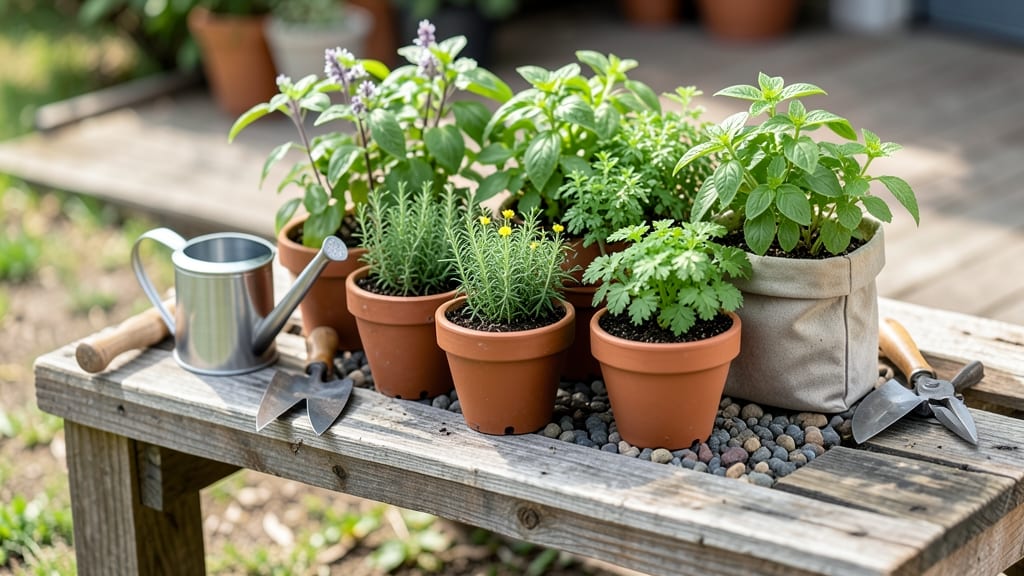
A pallet gardening table turns old wood into a stylish, space-saving vertical garden that grows fresh herbs, veggies, and flowers—without taking up precious yard space.
Picture this: a sturdy, customizable planter that fits on a balcony, patio, or even a small backyard, giving you a year-round harvest of homegrown goodness. No more struggling with limited space or high costs—just a simple, eco-friendly solution that works for beginners and experts alike.
Whether you’re dreaming of lush basil, crisp lettuce, or vibrant blooms, a pallet garden table makes it possible with minimal effort. Below, I’ll walk you through easy DIY plans, the best plants to grow, and creative designs to maximize every inch of your growing area.
Ready to build your own? Let’s get started with the tools, materials, and step-by-step instructions that’ll have you harvesting in no time.
How to build a sturdy pallet gardening table for beginners
If you’ve ever dreamed of growing your own herbs, veggies, or flowers but lack space, a DIY pallet gardening table is the perfect solution. These versatile structures transform discarded wood into functional, space-saving gardens that fit balconies, patios, or even small yards.
The best part? You can build one in just a few hours with basic tools and materials. I’ll walk you through every step, from sourcing the right pallets to assembling a stable, weather-resistant table that lasts for years.
Before you start, know that untreated pallets are ideal for gardening—they’re free, sustainable, and often available at local hardware stores or recycling centers. Avoid pressure-treated wood, as it can leach harmful chemicals into your soil.
For this project, you’ll need two pallets (or one pallet for a smaller table), screws, sandpaper, landscape fabric, soil, and a few basic gardening tools. Let’s get growing!
Step-by-Step Guide to Building Your Pallet Gardening Table
- Step 1: Gather Materials
- 2 wooden pallets (or 1 for a smaller table)
- 4x4 sturdy posts (for legs, if needed)
- 2.5-inch deck screws (galvanized for rust resistance)
- 1 roll landscape fabric (to prevent weeds)
- High-quality potting soil or garden mix
- Drill with 1/4-inch bit (for drainage holes)
- Step 2: Prep the Pallets
- Sand rough edges to avoid splinters.
- Drill drainage holes in the bottom of each pallet (1/4-inch diameter, spaced 4-6 inches apart).
- Line the bottom with landscape fabric to block weeds and pests.
- Step 3: Build the Base
- Place the pallets side by side to form a tabletop.
- Attach 4x4 posts to the corners of the bottom pallet (legs) using screws.
- Secure the top pallet to the legs with screws for stability.
- Step 4: Add Soil and Plant
- Fill the top pallet with 4-6 inches of potting soil.
- Plant your herbs, veggies, or flowers in rows or clusters.
- Water thoroughly to settle the soil.
- Step 5: Customize and Protect
- Paint or stain the wood for a polished look (use non-toxic paint).
- Add wheelbarrow handles to the sides for mobility.
- Place on a decorative tray to catch runoff.
💡 Pro Tip: For small balconies, use a single pallet with legs to save space. For larger yards, stack two pallets vertically for a tiered garden!
For small balconies, consider building a single-pallet table with wheels or a foldable design. This makes it easy to move indoors during harsh weather or to clean.
If you have a larger yard, you can create a multi-tiered setup by stacking pallets vertically, adding shelves between them for extra growing space. Just ensure each level has proper drainage and support.
One of the biggest challenges with pallet gardens is soil retention, especially in windy areas. To combat this, line the bottom with landscape fabric and add a layer of mulch on top of the soil.
This helps retain moisture and prevents erosion. For extra stability, reinforce the corners with metal brackets or additional screws.
When choosing plants for your pallet table, opt for shallow-rooted varieties like basil, lettuce, strawberries, or cherry tomatoes. These thrive in the limited depth of pallet slats while maximizing yield.
Avoid heavy feeders like corn or pumpkins, as they’ll outgrow the space quickly. Instead, focus on trailing plants like nasturtiums or peas to create a lush, vertical display.
To extend the life of your pallet gardening table, protect it from rain and snow during off-seasons. Store it under a covered porch or use a waterproof tarp. If you live in a humid climate, treat the wood with a natural sealant to prevent rot.
With proper care, your table can last for years, giving you a bountiful harvest with minimal effort.
Don’t let limited space stop you from growing your own food! With just a few pallets and some basic tools, you can create a functional, stylish garden that fits your needs.
Whether you’re growing herbs for your kitchen or flowers for your patio, this project is a game-changer for urban gardeners. Happy building—and even happier harvesting!
Best plants for pallet gardening tables: what to grow and why
Pallet gardening tables are perfect for growing space-efficient plants that thrive in vertical spaces. The key is selecting varieties that don't require deep soil but still produce abundantly. Herbs, leafy greens, and trailing flowers are ideal because they grow well in shallow containers and add beauty to your vertical garden.
These plants also grow quickly, so you'll enjoy fresh harvests in just a few weeks.
When choosing plants, consider their sunlight requirements and watering needs. Most pallet gardens get partial to full sun, so opt for plants that can handle these conditions without wilting.
Additionally, companion planting can maximize space and improve yields by keeping pests away and attracting pollinators. For example, pairing basil with tomatoes or marigolds with leafy greens creates a balanced ecosystem.
Here’s a quick guide to the top 10 plants that thrive in pallet gardening tables, along with their care essentials: