
Tools
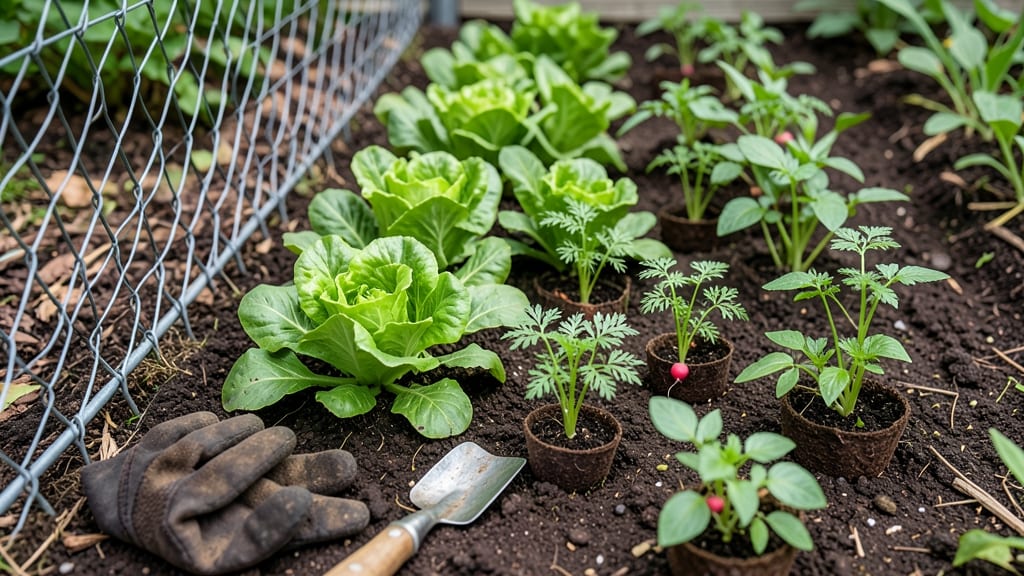
A vegetable garden with chicken wire transforms tight spaces into productive, pest-resistant growing zones 🥕—no digging required.
Small yards don’t mean small harvests—with chicken wire, you can create a vertical, space-saving vegetable garden that maximizes every inch of your outdoor space while keeping pests at bay.
Whether you’re working with a balcony or a postage-stamp backyard, this flexible tool turns walls, fences, and even old pallets into growing surfaces.
No more wrestling with rabbits or watching your tomatoes sprawl into the neighbor’s yard. Chicken wire adds structure without the cost of permanent raised beds, and it’s easy to install in just a weekend.
Plus, it works for everything from beans to cucumbers, so you’re not limited to one type of plant.
In this guide, I’ll walk you through five creative layouts that fit any space, plus step-by-step instructions for building your own. Ready to grow more with less effort?
5 Creative chicken wire vegetable garden layouts for small spaces
Small yards don’t mean small harvests—with chicken wire, you can transform limited space into a thriving vegetable garden. This versatile material creates pest-proof barriers, vertical growing structures, and space-saving designs that maximize your yield.
Whether you have a balcony, patio, or tiny backyard, these 5 innovative layouts prove that big harvests come in small packages.
Chicken wire isn’t just for keeping chickens out—it’s a gardener’s secret weapon for organizing, protecting, and elevating your plants. From spiral gardens to tiered wall systems, each design below fits snugly into compact spaces while keeping pests at bay and soil contained.
Let’s explore how to double your growing area with just a roll of wire and some creativity!
Why chicken wire? It’s affordable, reusable, and easy to shape into almost any structure. Plus, its small mesh deters burrowing pests like rabbits and gophers while allowing airflow to plant roots. For small-space gardeners, this material is a game-changer—turning wasted corners into productive growing zones.
Below, I’ve designed 5 space-saving layouts with real-world measurements, plant recommendations, and pest-control tips. Each layout includes a space efficiency metric (how much extra growing area you gain per square foot of yard) to help you choose the best fit for your home.
🌱 Chicken Wire Garden Layout Comparison
| Layout | Space Efficiency | Best For | Pest Protection | Plant Examples |
|---|---|---|---|---|
| Vertical Trellis Wall | 3x more plants per sq ft | Vining plants | ✅ High (keeps pests off vines) | Cucumbers, beans, peas |
| Spiral Garden Bed | 2.5x more plants per sq ft | Small root veggies | ✅ Medium (raised edges deter pests) | Carrots, radishes, lettuce |
| Tiered Wire Raised Bed | 2x more plants per sq ft | Herbs & compact plants | ✅ High (fully enclosed) | Basil, thyme, peppers |
| Fence-Line Trellis | 4x more plants per sq ft | Tall climbers | ✅ High (pests can’t reach) | Pole beans, squash |
| Hanging Wire Baskets | 5x more plants per sq ft | Container plants | ✅ Medium (elevated = fewer ground pests) | Strawberries, cherry tomatoes |
Let’s dive into each layout with step-by-step instructions, material lists, and pro tips to help you build your dream chicken wire garden. The vertical trellis wall is my favorite for balconies—it turns a blank wall into a lush, edible curtain of cucumbers and beans.
For ground-level gardens, the spiral bed adds visual interest while maximizing root vegetable growth in tight circles.
The tiered wire raised bed is perfect for herbs and peppers, as it keeps soil contained and deters crawling pests like slugs. If you have a fence or shed, the fence-line trellis is a steal—it adds vertical growing space without taking up extra yard room.
And for ultra-small spaces, hanging wire baskets let you grow strawberries and cherry tomatoes where you’d never expect!
Pro Tip: Before building, measure your space and sketch a rough layout. Use galvanized chicken wire (lasts longer) and bend it into shape with wire cutters and pliers. For extra stability, anchor the wire to wooden stakes or metal posts. I’ve also found that adding a layer of landscape fabric inside the wire helps prevent soil from slipping through the mesh.
One of my biggest mistakes was skipping the soil prep step—always amend your soil with compost before planting in wire structures.
The drainage in raised wire beds is amazing, but nutrients wash out faster. Feed your plants every 4-6 weeks with a balanced fertilizer (like 10-10-10) to keep them thriving. For pest control, I’ve had great luck with neem oil sprays on wire-supported plants like cucumbers and squash.
Ready to transform your small space? Start with the layout that fits your yard’s shape—whether it’s a corner, fence, or balcony. With chicken wire, you’re not just saving space; you’re creating a garden that works harder for you. Which design will you try first?
How to build a chicken wire garden: step-by-step guide with materials list
A chicken wire vegetable garden is a game-changer for small spaces, offering pest protection, vertical growth support, and customizable layouts. Whether you're growing cucumbers, beans, or tomatoes, chicken wire creates a sturdy, flexible framework that keeps critters out while maximizing your harvest.
Let’s build one that’s durable, functional, and easy to maintain.
Before you start, gather your materials—chicken wire (1-inch mesh for flexibility), wooden stakes or metal posts, garden twine, soil, compost, and planting pots or direct-sowing space.
A measuring tape, scissors, and gloves will also save you time. Choose a sunny spot with 6+ hours of sunlight for best results.
Step-by-Step Guide to Building Your Chicken Wire Garden
- Step 1: Plan Your Layout
Sketch your design—vertical trellis, raised bed frame, or spiral garden. Measure your space and mark post locations every 3-4 feet for stability. For a 5-foot tall trellis, use 4 posts and 3 horizontal wire sections.
- Step 2: Assemble the Frame
Attach wooden stakes or metal posts to the ground using concrete or stakes. Unroll the chicken wire and secure it horizontally between posts with garden twine. Overlap wires by 6 inches for extra strength.
- Step 3: Prepare the Soil
Mix garden soil with compost (ratio: 3:1) for nutrient-rich beds. If planting directly into the ground, loosen soil to 12 inches deep and add organic fertilizer. For pots, use well-draining potting mix.
- Step 4: Plant Your Vegetables
Install supporting twine or soft ties to guide vining plants (e.g., cucumbers, beans) along the wire. Plant determinate tomatoes at the base and indeterminate varieties higher up. Space plants 12-18 inches apart for airflow.
- Step 5: Secure and Maintain
Weave additional wire around the frame to reinforce weak spots. Water deeply 2-3 times per week (adjust for heat). Prune plants regularly to prevent overcrowding, and replace damaged wire sections as needed.
One of the biggest advantages of a chicken wire garden is its pest-deterrent properties. The mesh keeps out rabbits, deer, and even squirrels while allowing sunlight and rain to reach your plants. For extra protection, line the base with hardware cloth to block burrowing pests like moles.
To extend your garden’s lifespan, coat the wire with rust-proof paint or galvanized finish if using outdoor-grade wire. This prevents corrosion and keeps your structure looking fresh for 5+ years. In late fall, remove dead plants, store wire sections, and refresh the soil with compost for next year’s planting.
With your chicken wire vegetable garden up and running, you’ll enjoy higher yields, less maintenance, and a neat, organized space that’s perfect for small yards. Plus, the vertical design makes harvesting easier—no more bending over! 🌱