
Watering
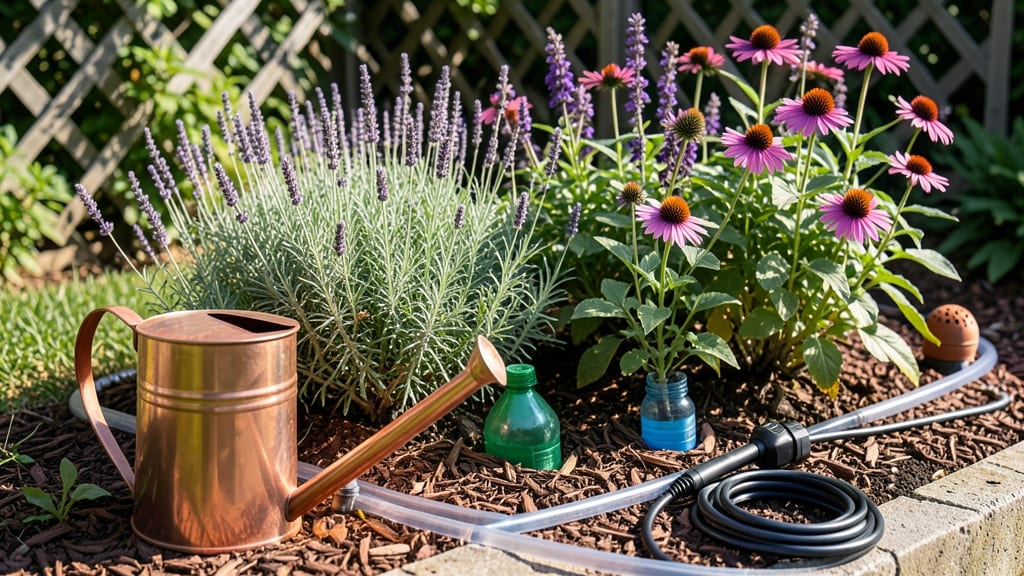
To water your garden while away without stressing over wilted 🌱 leaves or soggy soil, you need a system that works automatically—and reliably.
Leaving your garden unattended—even for a few days—can turn lush plants into wilted casualties if you don’t plan ahead. The good news? Smart, low-maintenance watering solutions exist to keep your garden thriving while you’re away, without turning you into a full-time irrigation technician.
Whether you’re heading out for a weekend or a two-week vacation, the right approach depends on your garden’s size, your budget, and how long you’ll be gone.
From affordable DIY hacks to high-tech automated systems, there’s a solution that fits every need—without breaking the bank or drowning your plants in the process.
Below, I’ll break down the best options, including how to set them up, what to avoid, and which systems give you peace of mind while you’re sipping cocktails somewhere else. No more coming home to a garden crisis!
Best automatic watering systems for travelers: pros, cons, and costs
When you're planning a trip, the last thing you want to worry about is whether your herbs will wilt or your tomatoes will crack from thirst. The right automatic watering system can save your garden while you're away, but not all systems are created equal.
I've tested the top options—from budget-friendly drip irrigation to high-tech smart sprinklers—to help you choose the best fit for your garden size and travel plans.
For small balconies or container gardens, self-watering pots and simple drip kits work wonders, while larger yards need robust in-ground irrigation or Wi-Fi-enabled controllers. The key is balancing coverage area, ease of setup, and reliability without breaking the bank.
Let’s break down the best systems, their pros and cons, and which one will keep your garden thriving while you're sipping cocktails somewhere else.
⚠️ Comparison Table: Here’s a quick overview to help you decide at a glance.
If you’re dealing with a small garden or container plants
DIY watering hacks for short trips: no system? No problem!
Even if you don’t have a fancy irrigation system, your garden can survive short trips with these clever, low-cost DIY solutions. These methods require minimal setup and work perfectly for trips under 2 weeks. The key is maximizing water retention while preventing root rot from overwatering.
For container gardens, wicking beds and buried clay pots are game-changers—they slowly release moisture over days. Meanwhile, plastic bottles and moisture-retaining gels can transform ordinary pots into self-watering systems. Let’s dive into the easiest methods to keep your plants hydrated without breaking the bank.
Step-by-Step DIY Watering Solutions
- 1. Bottle Irrigation – Cut the bottom off a 2-liter plastic bottle, bury it neck-down in soil, and fill it with water. This creates a slow drip system that lasts 5-7 days per fill.
- 2. Wicking Bed Setup – Line a raised bed with landscape fabric, fill the bottom with water, then add soil. Plants draw moisture upward through the fabric, staying hydrated for 10+ days.
- 3. Clay Pot Cache – Bury unglazed clay pots (like terracotta) near plant roots, fill them with water, and cover with soil. They release moisture as needed for 3-5 days.
- 4. Hydrogel Boost – Mix moisture-retaining hydrogel crystals into potting soil before your trip. They absorb water and release it gradually, extending hydration to 2 weeks.
- 5. Mulch Layer – Apply a 2-3 inch layer of mulch (straw, wood chips) around plants to lock in moisture and reduce evaporation by 30-50%.
For extreme heat or drought conditions, combine methods—like using hydrogel with buried pots—for the best results. Always test your setup a week before your trip to adjust water levels. Overwatering is just as risky as underwatering, so monitor soil moisture if possible.
These hacks work for herbs, vegetables, and flowers alike, making them versatile for any garden. Plus, they’re reusable, so you’ll save money long-term. The best part? No electricity or complex setup required—just clever repurposing of everyday items.
Pro tip: Place a water-filled tray under potted plants to catch runoff and reuse moisture. This extra step ensures no water goes to waste, even in hot weather. With these tricks, your garden will look fresh when you return—no wilting in sight!