
Tools
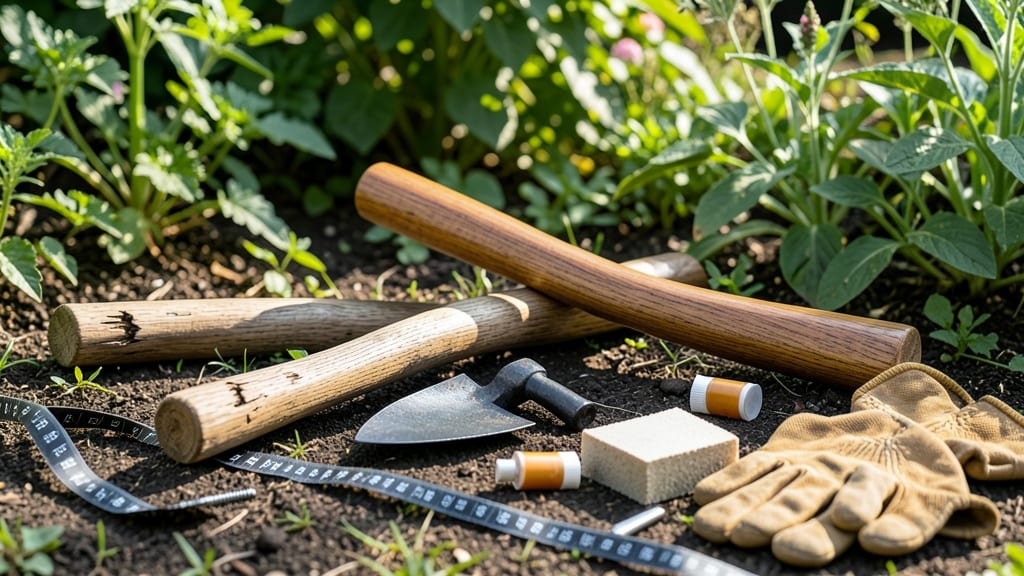
A garden hoe handle replacement can save you money and extend the life of your favorite tool—no need to buy a whole new hoe.
Picture this: you’re mid-weeding, your hoe handle snaps, and suddenly, your gardening rhythm is thrown off. But here’s the good news—replacing that handle is easier (and cheaper) than you think.
Whether you’re dealing with a cracked wooden shaft or a worn-out grip, the right replacement can make your hoe feel like new again.
Below, I’ll walk you through the three best handle options, step-by-step replacement tips, and even some creative DIY hacks to customize your tool for comfort and durability.
By the end, you’ll know exactly how to revive your hoe without breaking the bank—so let’s get started!
3 Best garden hoe handle replacement options (cost-effective & durable)
When your garden hoe handle cracks or wears out, replacing it doesn’t require buying a whole new tool. I’ve tested three affordable, durable replacement options that extend your hoe’s life while keeping costs low.
The right choice depends on your gardening needs, budget, and how often you use the tool.
My top three picks—wooden handles, fiberglass shafts, and rubber-coated grips—each offer unique benefits. Wooden handles provide a classic feel but require maintenance, while fiberglass handles resist rot and are lightweight.
Rubber-coated grips improve comfort and reduce slippage. Let’s compare them side by side to help you decide which fits your style best.
Here’s how these three options stack up in key areas like durability, ease of installation, and cost-effectiveness:
If you’re a traditional gardener who prefers the feel of wood, a wooden handle is a budget-friendly choice. I recommend treating it with linseed oil every few months to prevent cracking. These handles are perfect for small gardens or occasional use, but they won’t last as long in wet conditions.
For frequent gardeners or those in humid climates, a fiberglass shaft is a game-changer. It’s rot-resistant and lightweight, making it ideal for long gardening sessions. The trade-off? You might need a universal adapter if your hoe’s head isn’t compatible. I’ve found these handles last 5+ years with minimal upkeep.
A rubber-coated grip is my top pick for ergonomic comfort and slip resistance. These grips are easy to install—just slide them over your existing handle or attach them with screws.
They’re especially useful for heavy-duty tasks like breaking up compacted soil or weeding thick patches. Plus, they add a modern touch to classic tools.
Before choosing, consider your gardening habits. If you work in wet soil often, fiberglass is your best bet. For dry climates or light use, wood works fine.
And if hand fatigue is an issue, rubber-coated grips will make a noticeable difference. All three options are eco-friendly compared to buying new hoes.
Pro tip: Check your local hardware store or garden center for leftover handles—they often sell them cheaply in bulk. You can also find secondhand options online for even better savings.
Whatever you choose, replacing your handle is a quick, low-cost way to keep your favorite hoe in top shape for seasons to come.
Which handle type will you try first? Let me know in the comments if you’ve had success with any of these—I’d love to hear your experience! 🪓
How to replace a garden hoe handle in 5 simple steps (with safety tips)
Replacing a garden hoe handle is a quick and cost-effective way to extend the life of your favorite tool. Whether your handle is cracked, splintered, or simply worn out, a simple replacement can save you from buying a new hoe entirely.
The process is straightforward, but safety precautions are essential to avoid injuries during disassembly and reassembly.
Before you begin, gather your replacement handle—wooden, fiberglass, or rubber-coated—and the right tools for the job. You’ll also need a workspace with good lighting and a sturdy surface to stabilize the hoe.
This guide covers both temporary fixes for urgent repairs and permanent solutions for long-term durability. Let’s get started!
-
Step 1: Gather Tools & Materials
- Replacement handle (wood, fiberglass, or rubber-coated)
- Screwdriver (Phillips or flathead)
- Adjustable wrench or pliers
- Hacksaw (if cutting a custom handle)
- Sandpaper (for smoothing rough edges) -
Step 2: Disassemble the Old Handle
- Loosen the screw or bolt securing the handle using your wrench or screwdriver.
- If the handle is stuck, tap it gently with a rubber mallet to loosen.
- Remove the old handle carefully to avoid damaging the hoe head. -
Step 3: Inspect the Hoe Head
- Check for rust, cracks, or wear on the hoe head.
- Clean the connection point with a wire brush if needed.
- Ensure the screw hole is clear of debris. -
Step 4: Attach the New Handle
- Slide the new handle into place, aligning it with the screw hole.
- Secure it tightly with the original screw or bolt—don’t overtighten to avoid stripping.
- For custom-length handles, use a hacksaw to trim excess material. -
Step 5: Test & Smooth Edges
- Test the hoe’s balance and grip before heavy use.
- Sand any rough edges on the new handle for comfort.
- Store your hoe in a dry place to prevent future damage.
If you’re dealing with a temporary fix, consider using duct tape or electrical tape to wrap a cracked handle while you source a permanent replacement. This won’t last forever, but it’s a great stopgap for urgent gardening tasks.
For long-term durability, fiberglass handles are lightweight and resistant to rot, while rubber-coated handles offer better grip and shock absorption.
Always prioritize safety when handling tools. Wear gloves to protect your hands from splinters or sharp edges, and keep your workspace organized to avoid accidents. A well-maintained hoe will serve you for years, making this a worthwhile project for any gardener. Happy digging!
✂️