
Tools
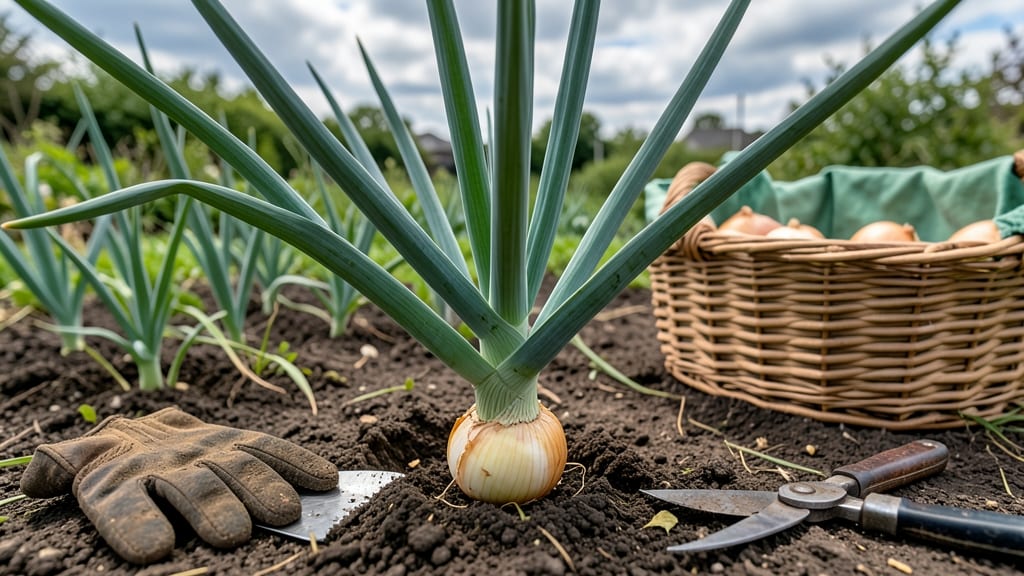
Pulling onions from the garden at the right time ensures you get sweet, flavorful bulbs instead of tough, bitter ones—here’s exactly when to check yours.
I’ve harvested onions too early, only to find them shriveled and pungent, or left them too long, and they split open in the soil. The difference between these two fates comes down to three key signs that your onions are ready to pull, and I’ll walk you through each one.
Whether you’re growing spring-planted onions in Zone 6a or fall varieties, timing matters. Miss the window, and you’ll end up with onions that store poorly or lack the tender texture you crave.
Below, I’ll show you how to spot the perfect moment—plus how to handle them once they’re out of the ground.
You’ll learn how to read the leaves for maturity, when to pull for the best flavor, and how to cure them properly so they last all winter. No more guesswork—just a foolproof way to harvest onions at their peak.
3 Clear signs your onions are ready for harvesting
Harvesting onions at the right time ensures you get flavorful, storable bulbs instead of tough or rotting ones. Unlike many vegetables, onions don’t ripen after picking, so timing is everything. The key is watching for three distinct visual cues that signal maturity.
These signs work for both storage onions (like Yellow or Red varieties) and green onions, though the latter matures faster.
First, pay attention to the top growth. When your onions are ready, their tops will start showing noticeable changes. This is your first clue that the bulb below is developing optimally.
Ignoring this sign often leads to over-mature onions that split open or rot in storage. Let’s break down these three critical signs so you never miss the perfect harvest window again.
-
1
Tops Turn Yellow and Fall Over
Look for 50-70% of tops turning straw-colored and flopping. This means the bulb is fully mature but still firm. If tops stay green, bulbs are underdeveloped. -
2
Bulb Size Reaches 2-3 Inches
Gently brush away soil to check bulb diameter. Ready onions should be baseball-sized (2-3 inches). Smaller bulbs won’t store well, while larger ones risk splitting. -
3
Neck Shrinks and Skin Turns Papery
The stem neck tightens near the bulb, and the outer skin becomes dry and crisp. Rub a bulb gently—if the skin peels easily, it’s harvest-ready.
Timing your harvest based on these signs is crucial for storage onions, which need to cure properly. For green onions, you can harvest when the greens reach 6-8 inches tall, but storage varieties require all three signs above.
Pro tip: Harvest on a dry, sunny morning to prevent disease and speed up curing.
Regional climate plays a role too. In hotter zones (8-10), onions mature faster—often by mid-June for spring plantings. Cooler zones (like USDA Zone 5) may need until late July**. Always adjust for your local frost dates to avoid premature pulling.
One common mistake is waiting too long. Over-mature onions split open or develop soft spots, making them unusable. The neck should still be firm when you harvest—if it’s mushy, you’ve missed the window. For long-term storage, prioritize bulbs with the thickest, driest skins.
After pulling, let onions cure in the sun for 3-5 days before trimming tops. This hardens the skin and extends shelf life. Store cured onions in a cool, dry place with good airflow—ideally 50-60°F and 60-70% humidity.
Properly cured onions can last 6-8 months, while poorly handled ones spoil in weeks.
If you’re unsure whether your onions are ready, perform the "skin test": Gently peel back the outer layer. If it’s thin and moist, wait a week. If it’s thick and dry, harvest immediately. This simple trick saves countless bulbs from going to waste.
For green onions, the process is simpler. Harvest when the white bulb is 1-2 inches long and the greens are 4-6 inches tall. Snip just above the soil line to encourage regrowth—you’ll get 3-4 harvests per plant this way.
But for storage onions, those three key signs are non-negotiable.
Remember: No two onion varieties mature at the same rate. Yellow onions take longer to cure than reds, while shallots develop more quickly. Always check the seed packet or plant tag for days-to-maturity estimates, then cross-reference with the visual cues above.
With practice, you’ll harvest onions like a pro—flavorful, firm, and ready for storage.
Best practices for harvesting onions at the right time
Timing is everything when harvesting onions—pull them too early, and you’ll get small, pungent bulbs. Wait too long, and they’ll split or rot in the ground.
The best time to harvest onions is during dry, sunny days when the neck begins to shrink and the tops yellow and flop over. I always aim for mid-morning to avoid evening moisture, which can encourage rot during curing.
For spring-planted onions in Zone 6a, this typically falls between late June and July, while fall varieties should be harvested in October or November before hard frost.
If you’re unsure, gently dig up one onion to check its readiness—this is my foolproof way to avoid ruining the whole batch.
Step-by-Step Guide to Harvesting Onions
- 🌱 Step 1: Choose the Right Day
Harvest onions on a dry, sunny morning to prevent soil from sticking to the bulbs and to allow them to dry properly. - 🪴 Step 2: Loosen the Soil
Use a garden fork to gently loosen the soil around the onion bulbs, working about 6 inches deep to avoid damaging them. - ✂️ Step 3: Pull the Onions
Grasp the green tops and pull upward firmly. If the bulb resists, wiggle it gently—never force it, or you’ll risk breaking the skin. - 💧 Step 4: Shake Off Soil
Remove excess dirt by shaking or gently brushing the bulbs. Avoid rinsing them, as moisture can promote rot during curing. - ☀️ Step 5: Cure the Onions
Lay the onions in a single layer in a dry, shaded, and well-ventilated area (like a garage or porch) for 2-3 weeks to dry the skins.
After harvesting, I always trim the roots to about ½ inch and cut the tops back to 1 inch to reduce moisture loss. This step is crucial for long-term storage—onions cured properly can last 6-8 months in a cool, dark place.
If you’re storing them in mesh bags, ensure they’re completely dry before packing.
One common mistake I’ve seen is skipping the curing process. Onions that aren’t dried properly will mold quickly, even in ideal storage conditions.
I’ve also noticed that green onions (scallions) should be harvested differently—they’re ready when the greens are 8-12 inches tall, and you can snip them just above the bulb without waiting for the tops to yellow.
For long-storage varieties, like Yellow Granex or Sweet Spanish, curing is non-negotiable. These onions need that extra time to develop their papery skin, which acts as a natural barrier against rot.
If you’re in a humid climate, extend the curing time to 3-4 weeks to ensure the skins are fully hardened.
Finally, don’t forget to label your onions by variety and harvest date. This helps you track which ones are best for short-term use (like red onions) versus long-term storage (like yellow or white varieties). With these tips, you’ll never miss the harvest window again!