
Picking
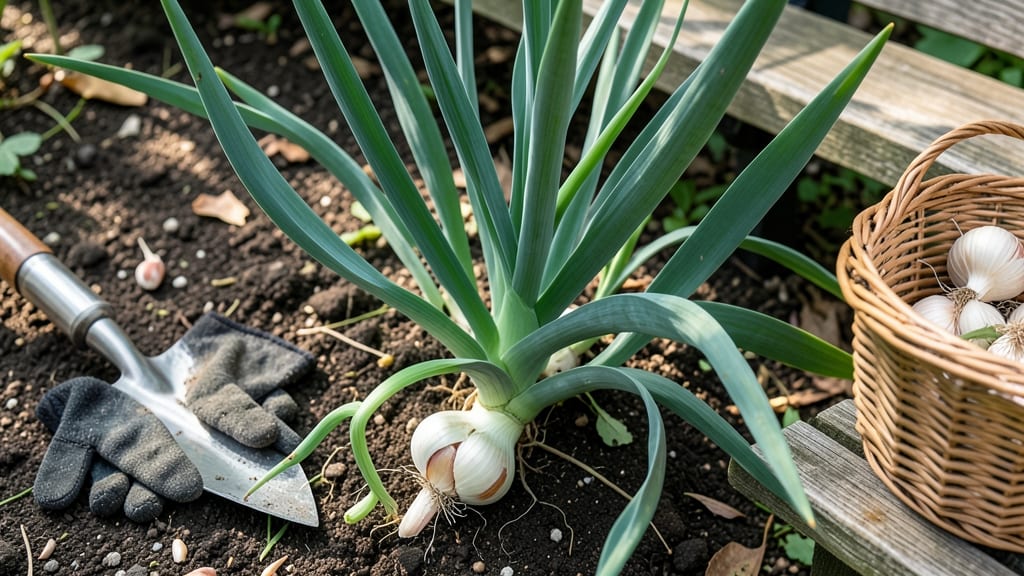
Picking garlic from your garden at the right time ensures bold flavor and long-lasting storage — and missing the window can turn your harvest into a disappointing pile of shriveled cloves.
You’ve nurtured your 🧄 through frost and spring showers, but the moment you dig too soon or too late, all that patience goes to waste. The key is watching for those crispy brown lower leaves while the top stays green, a sure sign the bulbs are ready.
Hard-neck varieties (like the classic purple stripe) and soft-necks behave slightly differently, so I’ll break down the exact visual cues and how climate zones shift the timing. A few extra days in the ground can mean the difference between a pantry staple and a sad, sprouting mess.
Here’s how to spot the perfect moment, harvest without damage, and store your garlic for months—plus what to do if you’ve already missed the boat.

How to identify the perfect time to harvest garlic by leaf color & size
Harvesting garlic at the wrong time can ruin months of hard work—so knowing the exact visual cues is key. The ideal time to pick garlic depends on two critical factors: leaf color changes and bulb maturity.
For most gardeners in USDA Zone 6a, this typically falls between late June and July of the year following planting. But don’t guess! I’ll show you how to spot the perfect moment for both hardneck and softneck varieties.
The first clue is the lower leaves turning brown and crispy while the upper leaves remain green. This signals the bulbs are nearing maturity. Hardneck varieties often develop a scape (a green shoot) that should be removed to redirect energy to bulb growth.
Softneck varieties won’t produce scapes, so focus on leaf color instead. Ignoring these signs can lead to shriveled cloves or premature sprouting—neither of which you want!
Hardneck garlic matures faster than softneck, so pay attention to the percentage of brown leaves. Aim for about 60% brown leaves for hardnecks—when the lower leaves are crispy but the top leaves stay green. Softnecks need closer to 70% brown before harvesting.
If you wait too long, the bulbs may sprout prematurely or become brittle, losing their flavor. I’ve learned this the hard way—overripe garlic tastes bland and stores poorly!
Another key indicator is bulb size. Gently dig up a test bulb to check its width. Hardneck varieties should be 1.5–2 inches wide, while softnecks need 2–3 inches for peak flavor. If the bulbs feel soft or mushy, they’re not ready.
Conversely, if the cloves inside aren’t fully formed, you’ve harvested too early. The papery skin forming around the bulbs is your final green light—this protects them during curing.
For hardneck varieties, don’t forget the scape! This curly stem appears in spring and should be removed when 6–8 inches tall. Pinching it off redirects energy to bulb development, resulting in larger, more flavorful cloves.
Softnecks won’t produce scapes, so skip this step if you’re growing them. Pro tip: Use the removed scapes in salads—they’re mild and garlicky!
Regional differences matter too. In warmer climates (Zones 7–10), garlic may mature earlier, while cooler zones (Zones 4–6) might need an extra week. Always harvest on a dry, sunny day to prevent disease.
I’ve found that early morning or late afternoon digging gives the best results—bulbs stay cleaner and cure faster. Avoid harvesting after rain, or you risk fungal infections during storage.
One common mistake is waiting until all leaves turn brown. By then, the bulbs may have already started sprouting or drying out in the soil. The goal is to harvest when the lower leaves are crispy but the upper leaves remain green.
This balance ensures maximum flavor and storage life. I store my harvested garlic in mesh bags in a cool, dry place—this keeps them fresh for months!
If you’re unsure, dig up one bulb for inspection. Look for fully formed cloves with a papery outer skin. If the bulbs meet these criteria, it’s time to harvest the rest. Remember, garlic continues to grow even after the leaves die back, so don’t wait too long.
The earlier you harvest at the right maturity, the better the flavor and storage potential. Trust your eyes—and your garlic’s signals!
🌱
Step-by-step guide: how to harvest garlic without damaging bulbs
Once your garlic shows ready signs like brown lower leaves and firm bulbs, it's time to harvest carefully to preserve flavor and storage life. The process involves digging at the right time, proper curing, and gentle handling—each step critical for preventing damage.
Timing matters most: harvest on a dry, sunny day when soil is dry but not bone-dry (early morning or late afternoon works best). Avoid rainy weather, as wet soil makes bulbs prone to rot during curing.
- 1 When to Dig: Harvest early morning or late afternoon when soil is dry but not cracked. Use a garden fork to loosen soil 6 inches deep around the plant.
- 2 Tools Needed: Wear gloves and gather a garden fork, pruners, and a baking sheet or mesh bag for curing. Avoid sharp tools that can pierce bulbs.
- 3 Digging Technique: Gently lift plants by the stem, not the roots. Shake off excess soil, but don’t brush off dirt—it protects bulbs during curing. Trim roots to 1 inch and leaves to 4 inches with pruners.
- 4 Curing Process: Lay garlic on a baking sheet in a shady, dry spot (like a garage or porch) for 2–3 weeks. Turn bulbs daily for even drying. Ideal curing conditions: 60–70°F and 60% humidity or less.
- 5 Storage Tips: Once bulbs are fully dry (papery skin), store in a cool, dark place (like a mesh bag or braided for softneck varieties). Avoid plastic bags—they trap moisture and cause rot.
Never skip the curing step—rushing it leads to shriveled cloves or mold growth. If your garage is too humid, try a dehumidifier or move bulbs to a well-ventilated area. For hardneck varieties, curing takes slightly longer (3–4 weeks) than softneck.
Avoid these common mistakes: harvesting when soil is wet, using sharp tools that nick bulbs, or storing garlic in refrigerators (cold temps cause sprouting). With patience, your bulbs will store for 6–12 months with full flavor!
Pro tip: Test one bulb after 4 weeks of curing—if it feels lightweight or squishy, extend drying time. The goal is crispy papery skins and firm cloves.