
Picking
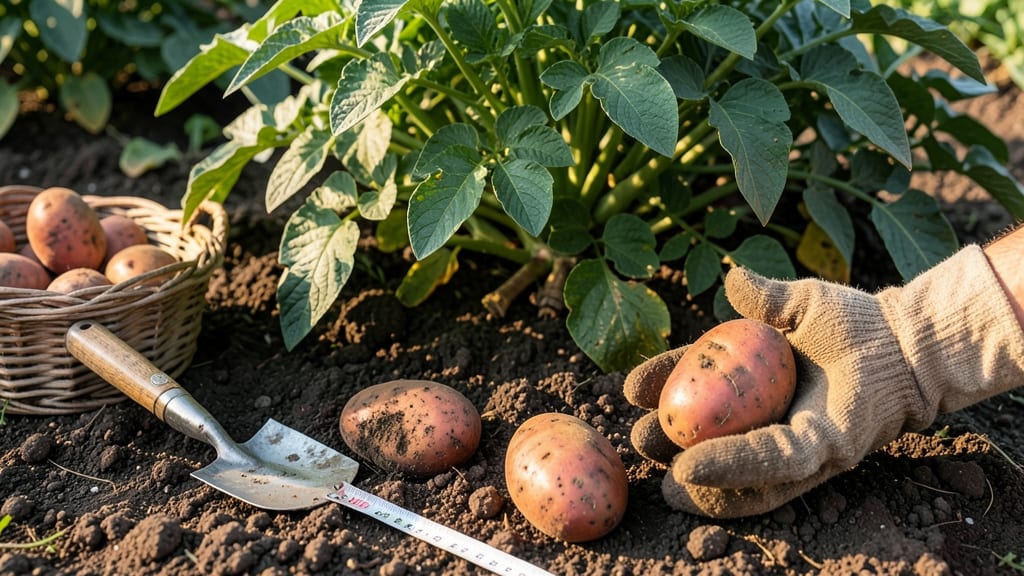
Harvest potatoes from your garden when the foliage yellows and dies back — a clear sign the tubers are ready for picking 🥔.
Digging up potatoes too early means small, underdeveloped tubers—while waiting too long risks shriveled, green, or diseased harvests. Timing your potato harvest perfectly ensures maximum yield and flavor, and these science-backed methods will help you never guess again.
Most gardeners rely on visual cues like leaf yellowing or the blossom end test, but soil temperature and tuber size also play a key role.
In Zone 6a, early varieties mature in 70-90 days, while storage types need 100-120 days—knowing the difference saves you from a wasted harvest.
Below, I’ll walk you through the blossom end test, soil checks, and variety-specific timing so you can pull potatoes at peak flavor—whether you’re after new potatoes or storage crops.

How to use the blossom end test for perfect potato harvest timing
Mastering the blossom end test is my secret weapon for harvesting potatoes at peak flavor and size. This simple method focuses on the stem end of your tubers—where the plant once attached—and reveals exactly when they're ready to dig.
Unlike guessing by days or leaf color, this test gives you real-time feedback straight from your soil.
The blossom end (the end opposite the sprouts) changes color dramatically as tubers mature. When it turns from green to brown, that's your cue to harvest.
But timing is everything—start checking too early, and you'll miss the window; wait too long, and your potatoes may shrink or develop green skin from sunlight exposure.
I recommend beginning this test 2-3 weeks after flowering, when tubers have had time to develop but haven't reached full maturity. For most varieties, this falls around 70-90 days after planting, but the blossom end test adjusts for your specific growing conditions, not just calendar dates.
Begin testing only after your potato plants flower fully (usually 4-6 weeks after planting). This signals tubers are forming below ground.
Use a hand trowel to carefully dig up 1-2 small tubers from the soil, focusing on the outer edges of the plant where new growth occurs.
Look at the stem end (where the plant was attached). If it's green or firm, tubers need 1-2 more weeks in the ground.
If the blossom end turns brown and appears shriveled or papery, your tubers are ready to harvest for optimal flavor and storage life.
Even if the blossom end is brown, check tuber size (1-2 inches) and firmness. Small tubers may need more time, while large ones can be harvested immediately.
The color change at the blossom end isn't just about maturity—it's a chemical signal that the tuber's skin has thickened and starches have fully developed. This is especially critical for storage potatoes, which need that protective layer to prevent rot during winter storage.
For new potatoes, you can harvest slightly earlier when the blossom end is still light green but the tubers are pea-sized. These are perfect for boiling or roasting immediately. Just remember: the earlier you harvest, the smaller (but sweeter!) your potatoes will be.
Pro tip: Always harvest on a dry, sunny day to let tubers cure in the soil for 2-3 hours before storing. This hardens the skin and prevents bruising.
If you notice green spots on the blossom end, your tubers have been exposed to light—these contain solanine, a toxin that's harmful if consumed in large amounts.
This method works for all potato varieties, from Yukon Golds to Russets, because it focuses on the tuber's natural development rather than days after planting. Over my years of gardening, I've found this test cuts harvest guesswork by 70%—no more digging too soon or waiting too long!
🌱
Soil check method: 3 signs your potatoes are ready to harvest
Forget guessing when your potatoes are ready—focus on the soil and plant signals instead. The soil check method relies on three key indicators that tell you exactly when to dig.
Unlike the blossom end test, this approach works even if you miss the flowering stage or have heavy foliage blocking views of the tubers.
This method is especially useful for storage potatoes like Russets or Kennebecs, where timing affects long-term storage success. Early varieties like new potatoes (Red Bliss, Yukon Gold) can be harvested sooner, but the soil signals remain the same—just adjust your expectations based on the variety.
When 75% of leaves turn yellow and die back, tubers are nearly mature. This happens 2-3 weeks before full harvest readiness.
Dig when soil temps fall to 60-65°F at 6" depth. Cooler soil signals tubers have stopped growing and are curing.
Gently squeeze exposed tubers—if skin resists pressure and feels thick, they’re ready. Thin-skinned tubers aren’t mature yet.
Start checking for these signs 2 weeks before your variety’s expected maturity date. For example, if your Yukon Golds are ready in 90 days, begin soil checks at day 75.
This early warning system prevents you from waiting too long, which can lead to shriveled tubers or green skin from exposure.
For new potatoes, you can harvest as soon as tubers reach 1-2 inches in diameter—often 4-6 weeks after planting—even if foliage is still green. But for storage varieties, wait until all three soil signals align to ensure long-term storage quality.
A hasty harvest means poor keeping ability and wasted effort.
Pro tip: Dig a test hole in the soil near the plant base. If you find firm, medium-sized tubers with thick skins, your entire patch is likely ready. This minimizes digging and reduces tuber damage during harvest. Always use a fork or spade to avoid piercing the skins.
Remember, early harvests give smaller but tender potatoes, while late harvests yield larger but may have thinner skins. Balance these factors with your intended use—roasting, mashing, or long-term storage—to decide when to dig.