
Picking
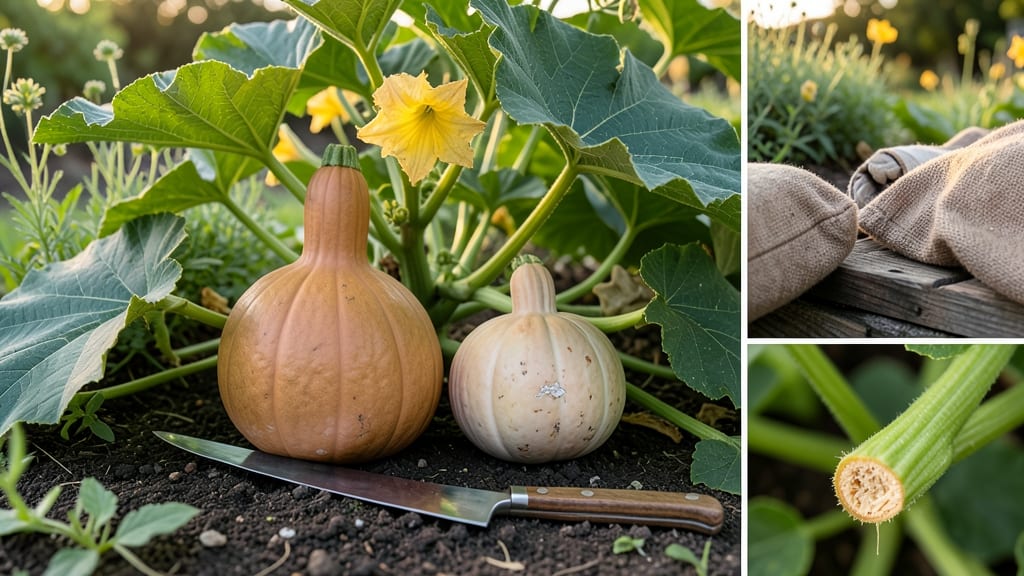
To harvest butternut squash from your garden at the perfect moment means waiting for skin that’s hard as a walnut shell and a stem that’s dried to a papery crisp.
Picking too early gives you a squash with watery, underdeveloped flesh, while waiting too long risks frost damage or a bitter, stringy texture. The difference between a perfect harvest and a wasted effort often comes down to knowing these three key signs.
Beyond the basics, you’ll also want to test for ripeness with a simple fingernail press or a gentle thump—techniques that take guesswork out of the equation. And timing matters beyond just visual cues: the best time of day and season can make or break flavor and storage life.
In this guide, I’ll walk you through the exact visual cues, hands-on tests, and seasonal tips to ensure you pull your butternut squash 🎃 from the garden at its peak—so you’re left with a pantry full of sweet, storable goodness and zero regrets.
3 Visual signs your butternut squash is ready for harvest
Knowing exactly when to harvest your butternut squash transforms a guess into a foolproof process. The difference between a perfectly sweet squash and one that's tough or watery often comes down to these three visual cues.
I’ve learned the hard way—overripe squash turns stringy, while underripe ones lack flavor. Let’s dive into the key indicators that tell you it’s time to pick.
First, pay attention to the skin color. When your butternut squash is ready, its skin shifts from a dull green or yellow to a rich, matte tan or beige. This color change signals that the sugars inside have fully developed.
I always compare it to a lightly toasted nut—that’s the ideal hue. If it’s still green or pale, it needs more time on the vine.
Next, check the stem and vine health. A sure sign of readiness is when the stem at the squash’s neck begins to dry out and shrink slightly. The vine itself may start to yellow and wither, especially in cooler climates.
This is nature’s way of telling you the nutrients have moved from the leaves to the squash. If the vine is still lush and green, your squash isn’t quite there yet.
Finally, test the rind hardness. A ripe butternut squash should feel rock-hard when you press it with your fingernail. If it leaves a dent, it’s not ready.
I like to think of it like a hard-boiled egg—no give at all. This firmness protects the squash during storage and ensures it stays fresh longer.
- 1 Skin Color: Look for a matte tan or beige hue, not green or pale yellow. This indicates full sugar development.
- 2 Stem Changes: The stem should dry and shrink at the neck, while the vine turns yellow and dies back.
- 3 Rind Hardness: Press with your fingernail—if it doesn’t dent, the squash is ready. A hard rind means it’s protected for storage.
One mistake I see gardeners make is waiting until the squash is overripe. If left too long on the vine, the skin can toughen excessively, and the flesh may develop a grainy texture.
Always harvest before the first frost in your area—typically October to November in most climates. I’ve found that morning harvests work best because the squash is cooler and less prone to bruising.
Pro tip: If you’re unsure, check the seed cavity inside. The seeds should be fully formed and the flesh near them should be deep orange.
This is a foolproof way to confirm ripeness. I also avoid cutting squash with a knife—always use a sharp pruning saw or shears to prevent damage.
Once harvested, cure your squash for 10 days in a warm, dry place (around 80-85°F) to enhance flavor and storage life. This step is often overlooked but makes a huge difference. Think of it like seasoning wood—it hardens the skin and deepens the sweetness.
If you miss the harvest window, don’t worry! Butternut squash stores well in a cool, dark place for up to 3 months. But why wait? With these three visual cues, you’ll never second-guess your harvest again. Grab your pruners and enjoy the fruits of your labor!
How to test butternut squash ripeness: the seed and thump method
Beyond checking the skin color or vine health, two simple butternut squash ripeness tests can give you 100% confidence in your harvest timing. The seed method and thump test reveal what’s happening inside the squash—where flavor and texture develop.
These tricks work especially well when visual cues are unclear due to weather or variety differences.
Start by selecting a firm squash that’s already showing tan or beige skin. Avoid testing squash with soft spots or cracks, as these may be overripe or damaged.
The tests below will help you confirm ripeness without cutting into the squash prematurely, preserving its quality for storage or immediate use.
- Seed Method: Gently press your thumb and index finger around the stem end of the squash. If the seeds inside feel fully formed and hard (like small marbles), the squash is ripe. If they’re soft or underdeveloped, wait 3–5 days and test again.
- Thump Test: Hold the squash in one hand and thump it firmly with the other. A ripe butternut will produce a deep, hollow sound (like knocking on wood). If it sounds dull or muffled, it’s not ready—wait another week.
- Combine Tests: For maximum accuracy, perform both tests. A squash that passes both the seed and thump tests is guaranteed to have sweet, dense flesh and a longer shelf life.
- Pro Tip: Test squash in the morning when temperatures are cooler. Warm squash may give false readings due to expanded air pockets inside.
These methods work for all butternut varieties, including Waltham and Long Island types. If you’re growing in a shorter season (like Zone 5 or cooler), prioritize the seed method—it’s the most reliable indicator when frost looms. Overripe squash won’t store well, so act quickly if both tests confirm ripeness.
Once you’ve confirmed ripeness, harvest with a sharp knife or pruners, leaving a 1-inch stem attached. This helps the squash cure and last longer in storage. Store in a cool, dry place (50–55°F) for up to 3 months—or roast immediately for a sweet, velvety texture.
Don’t let uncertainty ruin your harvest! Mastering these two tests will save you time, reduce waste, and ensure your butternut squash tastes perfectly sweet every time. Happy testing—and happy harvesting! 🎃