
Tools
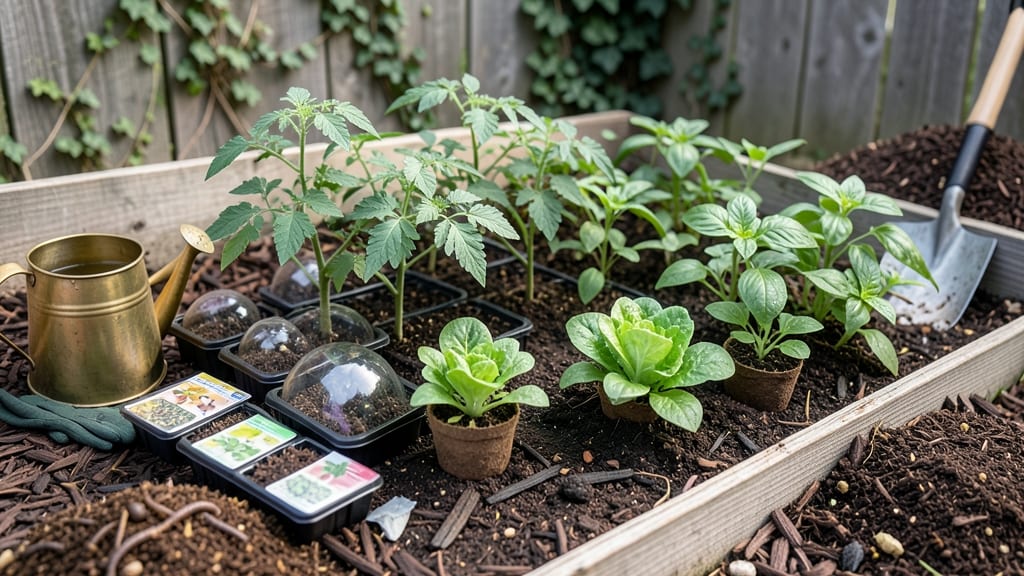
Gardening steps turn a blank space into a thriving garden—even if you’ve never held a trowel before.
Picture this: a patch of dirt that becomes a vibrant, productive garden by summer. It’s not about having a green thumb; it’s about following the right steps for gardening—from soil prep to pest control—without the guesswork.
This beginner’s checklist breaks down everything into simple tasks, whether you’re planting indoors or outdoors. You’ll learn how to prep soil, pick the best plants for your space, and keep them healthy with minimal effort.
By the end, you’ll have a clear, stress-free plan to grow confidently—no overcomplicating, just proven results.
10 Essential steps for gardening beginners to plan their garden
Planning your garden is the foundation for success—whether you're growing vegetables, flowers, or herbs. Without a solid plan, even the hardiest plants can struggle. The key is starting with the right site selection, understanding your sunlight patterns, and choosing plants that thrive in your local climate.
I’ve helped dozens of beginners transform their spaces, and these steps have become my go-to checklist.
One of the biggest mistakes I see is skipping the soil test or ignoring seasonal timing. Your soil’s health and the amount of sunlight your garden receives can make or break your harvest. For example, tomatoes need full sun (6+ hours daily), while lettuce can tolerate partial shade.
By mapping your garden’s sunlight and testing your soil pH, you’ll set your plants up for success from day one.
🌱 10 Essential Steps for Gardening Beginners
- Step 1: Choose Your Garden Location – Pick a spot with 6+ hours of sun (for most veggies) and easy access to water.
- Step 2: Map Sunlight Patterns – Use a sunlight journal to track which areas get morning, afternoon, or full sun all day.
- Step 3: Test Your Soil – Use a pH test kit (ideal range: 6.0–7.0 for most plants) and amend with compost if needed.
- Step 4: Sketch Your Garden Layout – Draw a simple map, grouping plants with similar sunlight and water needs together.
- Step 5: Select Your Plants – Choose beginner-friendly plants like lettuce, basil, or marigolds, and check their mature size to avoid overcrowding.
- Step 6: Plan Your Planting Timeline – Know your last frost date (e.g., April 15 in Zone 6a) to time cool-season crops like peas and warm-season crops like tomatoes correctly.
- Step 7: Gather Tools & Supplies – Essentials include a garden trowel, pruners, gloves, and mulch to retain moisture.
- Step 8: Prepare Your Soil – Loosen soil, remove weeds, and mix in 2–3 inches of compost to improve drainage and fertility.
- Step 9: Plant or Sow Seeds – Follow seed packet instructions for depth and spacing, and water gently after planting.
- Step 10: Create a Maintenance Schedule – Note watering days, fertilizing times (every 4–6 weeks), and pest checks to stay on track.
Let’s start with site selection, which is often overlooked but critical. Your garden’s location affects everything from sunlight exposure to ease of maintenance. For example, a south-facing garden in the Northern Hemisphere gets the most sunlight, making it ideal for sun-loving plants like tomatoes, peppers, and zucchini.
If your space is limited, consider vertical gardening with trellises for vining plants like cucumbers or beans.
Next, sunlight mapping is a game-changer. I recommend observing your garden for a week to note where sunlight hits at different times. Use stakes or flags to mark areas with full sun (6+ hours), partial shade (3–6 hours), and full shade (<3 hours).
This helps you place the right plants in the right spots—like basil in full sun or parsley in partial shade.
Don’t skip soil testing, either. A simple pH test kit (available at garden centers for under $10) reveals whether your soil is too acidic or alkaline. Most vegetables prefer a neutral pH (6.0–7.0), while blueberries thrive in acidic soil (pH 4.5–5.5).
If your soil is off, amend it with lime (to raise pH) or sulfur (to lower pH) before planting.
Once you’ve mapped sunlight and tested soil, it’s time to sketch your garden layout. This doesn’t have to be fancy—even a rough doodle on paper helps visualize spacing and plant groupings.
For instance, place tall plants (like sunflowers) in the north to avoid shading shorter plants. Use a 1-inch grid to represent spacing, and include paths for easy access.
Choosing the right plants for your climate is another common stumbling block. Beginners often pick plants that don’t suit their growing zone.
For example, in USDA Zone 6a, you can grow cool-season crops like kale and carrots in early spring or late summer, but warm-season crops like eggplants need to wait until after the last frost. Always check seed packets for days to maturity to plan your harvest timeline.
Finally, seasonal timing is the secret to a productive garden. In Zone 6a, I start seeds indoors in March for cool-season crops and transplant seedlings after the last frost (around April 15).
For warm-season crops, I wait until May 1 to avoid frost damage. A simple planting calendar keeps you organized and ensures your garden thrives year-round.
With these 10 steps, you’ll avoid the trial-and-error phase and create a garden that’s both beautiful and bountiful. The best part? You’ll gain confidence with each season, and soon you’ll be sharing your harvests with neighbors—or even selling extras at a local market!
How to prepare your soil for gardening success
Healthy soil is the foundation of any successful garden. Without proper preparation, even the hardiest plants struggle to thrive. I’ve learned that rich, well-aerated soil holds moisture, provides nutrients, and supports strong root growth—all critical for plant health.
The good news? You don’t need expensive equipment to improve your soil. With a few simple steps for gardening, you can transform rocky or compacted ground into fertile planting beds.
Start by assessing your soil’s current condition. Look for signs like water pooling after rain (poor drainage) or hard, clumpy texture (compacted soil). These issues can be fixed with the right amendments.
I recommend testing your soil’s pH level first—most vegetables prefer a slightly acidic to neutral range between 6.0 and 7.0. You can buy affordable test kits at garden centers or send samples to local agricultural extensions for professional analysis.
| Soil Improvement Step | Action Required | Materials Needed |
|---|---|---|
| Test Soil pH | Use a pH test kit or send sample to extension office | pH test kit, lime (for acidic soil), sulfur (for alkaline soil) |
| Add Organic Matter | Work in 2-3 inches of compost or aged manure | Compost, leaf mold, or well-rotted manure |
| Improve Drainage | Mix in perlite or coarse sand for clay-heavy soil | Perlite, sand, or pine bark fines |
| Loosen Compacted Soil | Use a broadfork or till deeply to break up layers | Broadfork, garden fork, or rototiller |
| Mulch Surface | Apply 2-3 inches of organic mulch to retain moisture | Straw, wood chips, or shredded leaves |
Once you’ve tested your soil, it’s time to amend it. I’ve found that compost is the easiest way to improve soil structure and fertility. Spread a 2-3 inch layer over your garden bed and work it into the top 6-12 inches of soil.
For heavy clay soil, mix in coarse sand or perlite to improve drainage. If your soil tests too acidic, add ground limestone; for alkaline soil, incorporate elemental sulfur. These amendments take time to work, so plan to prep your soil at least 2-3 weeks before planting.
Don’t overlook the importance of soil aeration. Compacted soil prevents roots from growing properly and limits water absorption. Use a broadfork or garden fork to gently loosen the soil without turning it over completely.
This preserves soil structure while improving root penetration. For raised beds, simply fill them with a mix of topsoil, compost, and perlite for optimal growing conditions from day one.
After amending, protect your soil with a 2-3 inch layer of mulch. Organic mulches like straw or wood chips break down over time, adding nutrients to the soil while suppressing weeds. Mulch also helps retain moisture, reducing the need for frequent watering.
I’ve seen gardens thrive with just this simple step during hot, dry summers. Remember to replenish mulch as it decomposes to maintain its benefits throughout the growing season.
Finally, give your soil time to settle before planting. If you’ve made significant amendments, wait at least a week to allow the soil to integrate. For new gardeners, I recommend keeping a soil journal to track changes in texture, moisture retention, and plant growth.
This helps you refine your approach year after year. With these steps for gardening mastered, you’ll create the perfect foundation for healthy, productive plants all season long. 🌱