
Tools
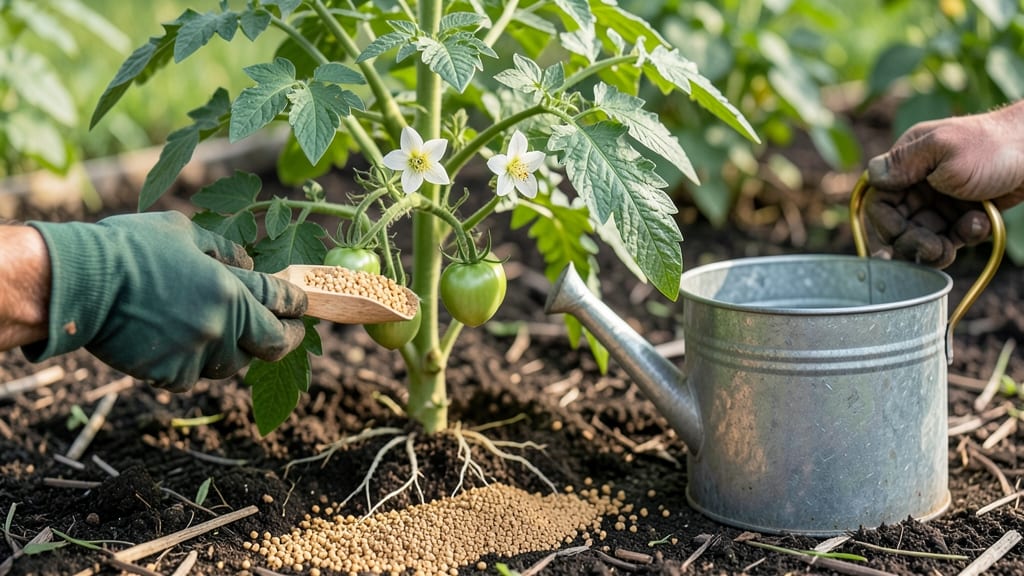
How to use bone meal in your garden is the fastest way to boost root growth and flowering in just two weeks—thanks to its high phosphorus content that plants crave for energy.
Picture this: you’ve spent hours nurturing your 🌱 General Garden plants, only to watch them struggle with weak stems or stubborn buds that refuse to open. Bone meal changes that by feeding the roots exactly what they need to thrive.
Whether you’re planting bulbs in spring or prepping tomatoes for summer, this organic fertilizer works best when mixed into the soil at planting time or sprinkled around established plants. But timing and dosage matter—too much can backfire, while the right amount delivers visible results in weeks.
In this guide, I’ll walk you through when to apply it, how much to use, and which plants benefit most (plus a few surprises about who shouldn’t get it). Ready to turn your garden into a blooming success?
When and how to apply bone meal for maximum root & flower growth
Bone meal is one of my go-to organic fertilizers for jumpstarting root development and flower production in gardens. Packed with phosphorus (P), it helps plants build strong frameworks and produce vibrant blooms—ideal for everything from vegetables to ornamental flowers.
The key lies in knowing when and how to apply it for the best results without overdoing it.
Unlike nitrogen-heavy fertilizers, bone meal works best when plants need to establish roots or push into their flowering phase. Timing is everything—apply it too early, and you might waste nutrients; too late, and your plants miss the growth boost they need.
Let’s break down the optimal timing, application methods, and dosage guidelines to get the most out of this phosphorus powerhouse.
For new plantings, like tomatoes, peppers, or bulbs, I recommend mixing bone meal directly into the soil before planting. This ensures roots have immediate access to phosphorus as they establish.
A general rule is 1 tablespoon per plant or 1 cup per 10 square feet of garden bed. For example, when planting rose bushes in early spring, I’ll work 2 tablespoons into the planting hole to encourage robust root systems.
If your plants are already established but struggling to flower, side-dressing is your best bet. Lightly scratch ½ tablespoon of bone meal into the soil around the plant’s base, about 2-3 inches from the stem.
Water it in gently to activate the nutrients. This method works wonders for vegetables like peppers or flowers like petunias that need a phosphorus kick to produce more blooms.
Timing is critical—bone meal is most effective when applied before plants enter their high-growth phases. For spring-blooming bulbs like daffodils or tulips, add it in fall when planting. For summer flowers or vegetables, apply it in early spring or mid-summer to support flowering.
Avoid using it in late summer or fall, as plants slow down and won’t utilize the extra phosphorus efficiently.
One common mistake is overapplying bone meal, which can lead to phosphorus buildup in the soil and even root burn. Always follow the dosage guidelines and never exceed 2 applications per year for most plants.
For acid-loving plants like blueberries, bone meal can raise soil pH, so use it sparingly or pair it with sulfur to balance the effects.
For container gardens, reduce the dosage to ½ teaspoon per 5-gallon pot and mix it into the top 2 inches of soil. This prevents nutrient runoff and ensures your potted plants get the benefits without waste.
Water thoroughly after application to help the bone meal dissolve and reach the roots.
Pro tip: If you’re using bone meal for root crops like carrots or beets, focus on the planting hole method. The phosphorus will encourage deeper, stronger roots, reducing forking and improving harvest quality. Pair it with a compost top dressing to balance the nutrients and improve soil structure.
Finally, store bone meal in a cool, dry place to prevent clumping or mold growth. Once opened, use it within 6 months for maximum potency. With the right timing and method, bone meal can transform your garden—giving you healthier roots and more abundant blooms in just a few weeks! 🌷
Best plants to use bone meal for (and which ones to avoid)
Bone meal is a powerhouse fertilizer for plants that need a phosphorus boost to develop strong roots and abundant blooms. The key nutrient—phosphorus—helps plants transition from leafy growth to flowering and fruiting stages.
But not all plants benefit equally. Some thrive with bone meal, while others may suffer from overuse or nutrient imbalance.
For flowering plants, bone meal is like a turbocharger—think roses, dahlias, and petunias—where phosphorus triggers vibrant blooms. Vegetables like tomatoes and peppers also love it, as do bulbs such as tulips and daffodils, which need phosphorus to establish robust root systems for next year’s growth.
However, citrus trees, pine trees, and azaleas can struggle with bone meal because they prefer different nutrient ratios or acidic soils.
Here’s a quick guide to help you decide which plants will thrive with bone meal and which to avoid:
Bone Meal Plant Guide
- Roses – Explosive blooms
- Tomatoes & Peppers – Strong roots & fruit
- Bulbs (Tulips, Daffodils) – Robust root growth
- Orchids – Encourages flowering
- Vegetables (Carrots, Beets) – Better root development
- Citrus Trees – Prefers nitrogen, not phosphorus
- Pine Trees – Can stunt growth in acidic soils
- Azaleas & Rhododendrons – Needs acidic soil, not bone meal
- Onions & Garlic – Overuse causes bitter flavors
- Lawn Grasses – Not effective for turf
💡 Pro Tip: Always test your soil first—bone meal works best in neutral to slightly acidic soils (pH 6.0-7.0).
When applying bone meal, focus on root zones—mix it into the soil at planting time or sprinkle it around established plants in early spring. For bulbs, apply bone meal at planting depth to encourage strong root systems.
For vegetables like tomatoes, a light application at transplanting can jumpstart growth. But remember: less is more. Overuse can lead to nutrient imbalances, so follow package guidelines or use a soil test to guide your application.
If you’re growing houseplants like African violets or ferns, bone meal can still help, but use it sparingly—these plants prefer a gentler nutrient boost. For container gardens, mix bone meal into the potting soil at the start of the season, especially for flowering annuals.
The goal is to support root development and flowering, not to overload the soil with phosphorus.
For gardeners with mixed plantings, consider using bone meal in designated areas—like your rose beds or vegetable patches—and avoid overapplying near plants that don’t need the extra phosphorus. If you’re unsure, start with a small test area to monitor how your plants respond.
With the right approach, bone meal can transform your garden into a blooming, thriving paradise in just a few weeks! 🌷