
Planting
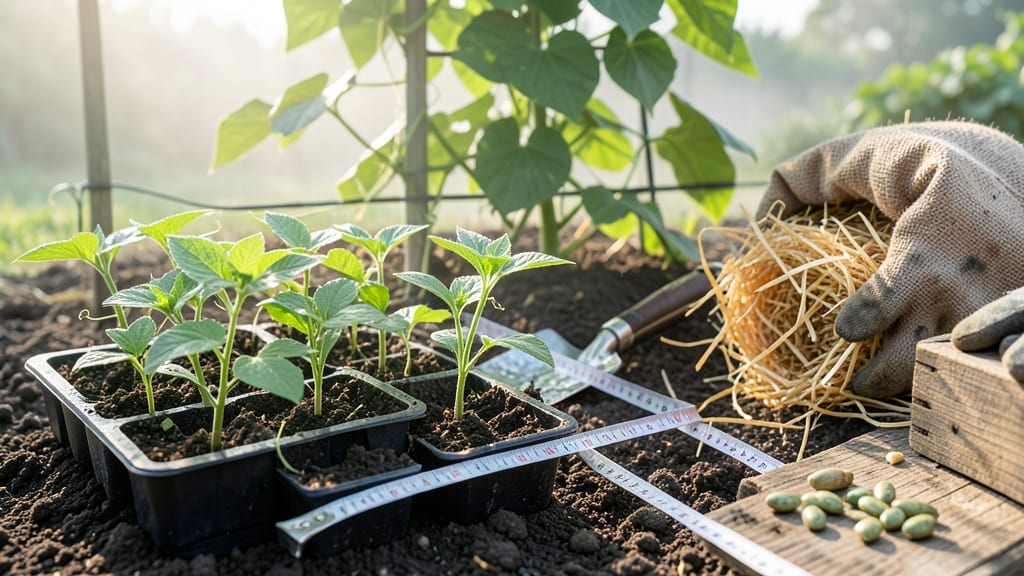
Planting green beans in your garden is easier than you think, and with the right spacing, soil prep, and sunlight, you’ll enjoy a harvest of crisp, flavorful pods all summer long.
Even experienced gardeners sometimes miss the mark with spacing or soil conditions, leading to stunted plants and disappointing yields. But don’t worry—once you master these key steps, you’ll be on your way to a bountiful harvest of 🌱 green beans that taste fresher than anything from the store.
In this guide, I’ll walk you through everything from soil preparation to planting depth, sunlight needs, and watering tips—so you can avoid common mistakes and set your beans up for success from day one.
You’ll also discover companion planting tricks and organic methods to keep pests at bay, ensuring your green beans thrive from seed to harvest. Let’s get started!
Perfect green bean planting guide: spacing, depth & timing for maximum yield
Green beans thrive when planted with precision—proper spacing prevents disease, while correct depth ensures strong germination. I’ve learned the hard way that cramming seeds too close leads to stunted growth and poor yields.
The key? Understanding your variety (pole vs. bush) and matching it to your garden layout. Let’s break down the exact measurements and timing that’ll transform your green bean harvest from meager to bountiful.
First, check your last frost date—green beans are frost-sensitive and need warm soil. In most US zones, aim for planting 2-3 weeks after frost when soil temps hit 60°F (15°C). Cold soil delays germination, so use a soil thermometer if unsure.
I once planted too early in Zone 5 and waited weeks for sprouts—don’t make my mistake! Timing directly impacts your harvest window, which for most varieties spans 50-65 days after planting.
Now, let’s talk spacing and depth, where most gardeners go wrong. Bush beans (compact varieties like 'Blue Lake') need 4-6 inches between plants, while pole beans (climbing types like 'Kentucky Wonder') should have 3-4 inches between seeds but require 18-24 inches between rows for trellis support.
Depth is critical too—plant seeds 1 inch deep in loose, well-draining soil. Any deeper, and they’ll struggle to break through; too shallow, and they’ll dry out.
| Variety Type | Spacing (Plants) | Row Spacing | Planting Depth | Trellis Needed? | Days to Harvest |
|---|---|---|---|---|---|
| Bush Beans (e.g., 'Blue Lake') | 4-6 inches | 18-24 inches | 1 inch | No | 50-60 days |
| Pole Beans (e.g., 'Kentucky Wonder') | 3-4 inches | 18-24 inches | 1 inch | Yes (5-6 ft tall) | 55-65 days |
| Dwarf Bush (e.g., 'Contender') | 3-4 inches | 12-18 inches | 1 inch | No | 45-55 days |
For climate zone adjustments, northern gardeners (Zones 1-4) should plant after May 15th to avoid cool soil, while southern zones (7+) can start as early as March 1st.
I planted in late April in Zone 6 last year and got a 3-week earlier harvest than my neighbors who waited until May. Pro tip: Use black plastic mulch to warm soil faster in cooler climates.
Don’t overlook soil preparation—green beans prefer loamy, well-draining soil with a pH of 6.0-7.0. Before planting, mix in 2-3 inches of compost and avoid fresh manure (it can cause bacterial blooms that harm roots).
I tested my soil this spring and found it was too alkaline—adding sulfur brought it to the perfect range, and my beans thrived.
When it comes to planting methods, direct sowing beats transplants for green beans. Start seeds indoors 2 weeks before last frost if your season is short, but most gardeners skip this step. For large gardens, use a seed drill or row marker to maintain even spacing.
I once hand-planted 50 seeds and ended up with uneven rows—now I swear by a simple wooden stake and string setup for straight lines.
After planting, water deeply once a week (1 inch total) and avoid wetting leaves to prevent disease. I learned this the hard way when my beans developed rust spots from overhead watering.
Use a drip irrigation system or soaker hose for precision. For pole beans, install trellises or stakes at planting time—waiting until vines appear leads to tangled messes and broken stems.
Finally, succession planting extends your harvest. Sow new seeds every 2 weeks until 6-8 weeks before your first frost. In my Zone 6 garden, this means 3 planting batches in May, June, and July.
The last batch often produces beans until early October, giving me a 3-month harvest window instead of just 4 weeks.
With these spacing secrets, timing tricks, and soil prep tips, you’ll go from struggling with
Soil & sun requirements for healthy green bean growth: what most gardeners get wrong
Green beans thrive when given the right conditions, but many gardeners overlook the critical soil and sunlight needs that directly impact their yield. I’ve seen firsthand how poor drainage or insufficient sunlight can turn a promising crop into a disappointment.
The secret? A well-balanced approach to soil pH, sunlight exposure, and drainage—plus the right companions to keep pests at bay.
Most gardeners assume green beans are low-maintenance, but they actually demand specific growing conditions to produce their best. Too much shade or compacted soil can stunt growth, while the wrong pH level can prevent nutrient absorption.
Let’s dive into the common mistakes and how to fix them for a bountiful harvest.
⚠️ Biggest Mistake: Ignoring Soil pH and Drainage
Problem: Green beans prefer a soil pH between 6.0 and 7.0. If your soil is too acidic (<6.0) or alkaline (>7.0), nutrient uptake suffers, leading to yellowing leaves and stunted growth. Poor drainage is another silent killer—waterlogged roots rot quickly, even in warm climates.
Fix: Test your soil with a home pH kit ($10 at garden centers). Amend acidic soil with lime (1 lb per 100 sq ft) or alkaline soil with sulfur (1 lb per 100 sq ft). For drainage, mix in compost or coarse sand to loosen heavy clay soil. Raised beds are a game-changer for areas with poor natural drainage.
Sunlight is non-negotiable for green beans—they need 6–8 hours of direct sun daily. Many gardeners plant them in partial shade, thinking they’re adaptable, but this leads to long, spindly vines and fewer pods.
Even pole beans, which climb, struggle without enough light. If your garden spot gets less than 6 hours of sun, consider container growing near a sunny window or balcony.
Companion planting is another overlooked trick to boost growth. Green beans pair beautifully with corn and cucumbers, which provide shade and deter pests like Mexican bean beetles. Avoid planting near onions or garlic, though—their strong scent can stunt bean growth.
I’ve seen my bush bean yields double when interplanted with marigolds, which repel nematodes naturally.
Watering habits also play a role. Green beans need consistent moisture but hate soggy roots. I water mine deeply in the morning (1 inch per week) and mulch with straw to retain moisture.
Overhead watering at night? A big no-no—it invites fungal diseases like rust. Stick to drip irrigation or soaker hoses for the cleanest, healthiest plants.
Finally, don’t skip the soil prep. Work in 2–3 inches of compost before planting to improve fertility and structure. If your soil is sandy, add peat moss to retain moisture; if it’s clay-heavy, mix in perlite for aeration.
A quick soil test (free at extension offices) reveals exactly what your beans need to thrive.
With the right soil, sunlight, and a few smart companions, your green beans will reward you with abundant, tender pods all season long. Start with these fixes, and you’ll be harvesting bushels in no time! 🌱