
How To
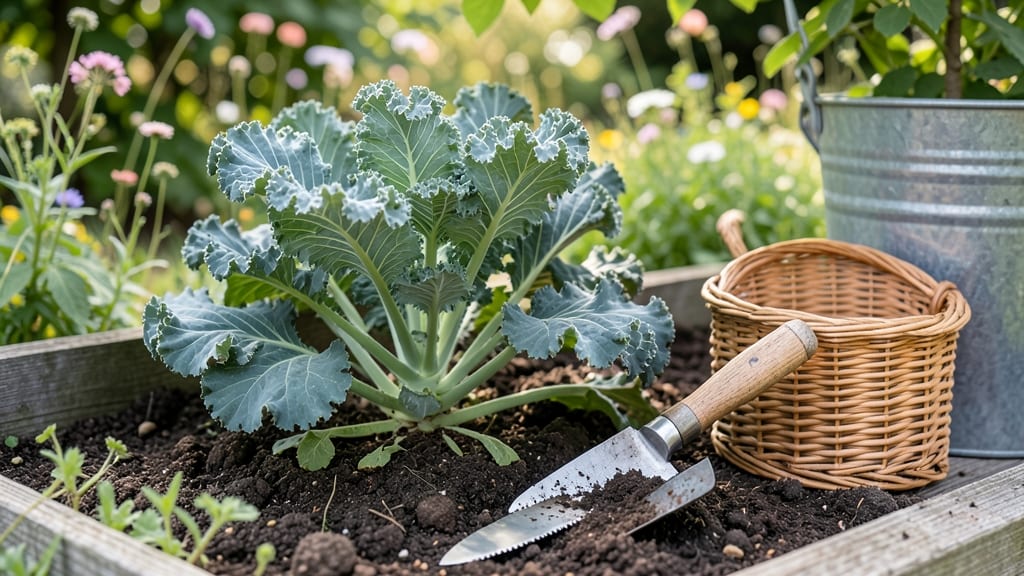
To pick kale from your garden the right way means harvesting leaves without sacrificing future growth—something most gardeners accidentally mess up by cutting too aggressively.
Here’s the secret: Kale 🥬 thrives when you remove only the outer leaves, leaving the inner growth point intact. That way, your plant keeps producing for weeks, not just a single harvest. One wrong cut, though, and you could stunt regrowth or even kill the plant.
Timing matters just as much as technique. Harvest when leaves reach 6–8 inches long but before they bolt (that bitter, flowery stage). I’ll walk you through the exact method—from tools to seasonal adjustments—to keep your kale bushy, sweet, and ready for the kitchen.
By the end, you’ll know when to pick, which leaves to avoid, and how to store your harvest so it stays crisp for days. No more guesswork, just a steady supply of homegrown greens.

The correct leaf-by-leaf kale harvesting method for continuous growth
Kale thrives when you harvest it the right way—leaf by leaf—instead of cutting the whole plant at once. This method preserves the growth point while giving you a steady supply of nutrient-rich leaves.
The key is timing: wait until leaves reach 6-8 inches long and have deep green color before picking.
Most gardeners make one critical mistake: they remove too many leaves at once, shocking the plant. Instead, focus on outer leaves first, leaving the inner, younger leaves to keep growing. This ensures your kale plant stays productive for weeks or even months after planting.
Seasonal adjustments matter too. In spring and fall, when temperatures are mild, your kale will regrow faster. But in hot summer months, slow down harvesting to prevent stress—kale prefers cool weather for optimal growth.
Before you start, gather your tools. Clean pruning shears or your fingers work best. Avoid dull knives—they can crush stems and invite disease. Always disinfect tools with rubbing alcohol before and after use to keep your plants healthy.
Step-by-Step Leaf-by-Leaf Kale Harvesting
- 1 Identify mature leaves: Look for leaves that are 6-8 inches long, dark green, and slightly curled at the edges. These are ready for harvest.
- 2 Locate the growth point: Never cut into the central stem or inner leaves—this is where new growth emerges. Focus only on outer leaves.
- 3 Use the right technique: Pinch or cut 1-2 inches above the stem using clean shears or your fingers. Avoid tearing leaves—this damages the plant.
- 4 Limit removal per session: Never take more than ⅓ of the plant at once. This prevents stress and ensures continuous regrowth for 4-6 weeks or longer.
- 5 Adjust for seasons: In spring/fall, harvest every 7-10 days. In summer, reduce to every 10-14 days to avoid heat stress. In winter, harvest sparingly if temperatures drop below 20°F.
- 6 Post-harvest care: After picking, water the plant at the base to encourage recovery. Add a light mulch to retain moisture and protect roots from temperature swings.
Pro tip: Morning harvests work best because leaves are crispest and less likely to wilt. If you notice yellowing leaves after picking, it’s a sign you’re removing too much—scale back and let the plant recover for a few days.
With this method, you’ll enjoy fresh kale for months without sacrificing plant health. The secret? Patience and precision—always leave the growth point intact, and your kale will reward you with wave after wave of harvests.
For dwarf varieties like 'Dwarf Blue Curled,' you can harvest even more frequently—every 5-7 days—since they regrow faster. Just remember: less is more when it comes to leaf-by-leaf harvesting.
🥬 Ready to try it? Start with just 2-3 outer leaves from each plant, and watch your kale thrive all season long!
Common harvesting mistakes that kill kale regrowth (and how to fix them)
Even the most experienced gardeners accidentally sabotage their kale harvests by making simple but costly mistakes. Over-picking, wrong leaf selection, and poor timing can turn your thriving kale plant into a struggling survivor. The good news? These problems are easily fixable with the right knowledge.
Kale is a cut-and-come-again crop, meaning it regrows after harvesting—but only if you follow the rules. I’ve seen gardeners strip entire plants bare or cut into the central growing point, both of which signal the plant to bolt or die back.
Let’s break down the top mistakes and how to recover from them.
⚠️ Warning: The #1 Mistake That Stops Regrowth
Cutting into the central stem is a silent killer. Kale grows from a single growing point at the base. When you slice into this stem—even accidentally—you sever the plant’s ability to produce new leaves. Fix it: Always harvest outer leaves only, leaving at least half the plant intact.
Visual cue: Look for the purple or yellow center where new leaves emerge. Never cut closer than 1 inch from this point.
Another common mistake is harvesting too many leaves at once. Kale can handle 1/3 of its leaves removed in a single session, but stripping half the plant will shock it into dormancy. I once saw a gardener take 80% of the leaves from a young plant—it never recovered.
Seasonal timing also plays a role. Harvesting late in the season (after first frost) can stress kale, especially varieties like Winterbor. Cold snaps trigger bitterness and bolting. To fix this, harvest before hard frosts and protect plants with row covers if you want winter greens.
Dirty tools introduce bacterial and fungal diseases like downy mildew, which can rot your kale from the inside out. Always sterilize scissors or pruners with rubbing alcohol before and after use. I keep a small bottle in my gardening toolbox to avoid cross-contamination between plants.
If your kale bolts prematurely (sends up a flower stalk), it’s often due to heat stress or over-maturity. To recover, remove the flower stalk immediately and reduce watering slightly to encourage leaf regrowth. For next season, plant shade-tolerant varieties like Lacinato or Red Russian in hot climates.