
Planting
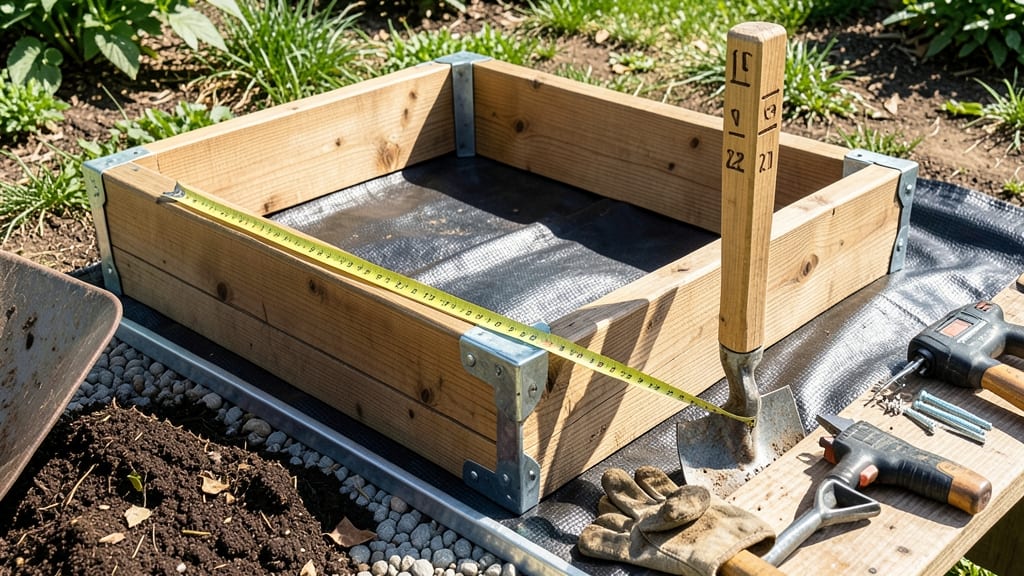
How deep to make raised garden beds is the foundation of healthy plant growth—and 6 to 12 inches is the sweet spot for most vegetables and herbs 🌱.
Struggling to decide how deep your raised garden beds should be? The right depth isn’t just about aesthetics—it’s the difference between thriving plants and stunted growth, poor drainage, and wasted soil.
Too shallow, and root crops like carrots or potatoes won’t develop properly. Too deep, and you’re spending money on unnecessary soil that won’t get used.
Here’s the key: most gardeners aim for at least 6 inches of soil for shallow-rooted plants like lettuce or herbs, but 12 inches gives room for deeper roots like tomatoes or peppers.
I’ll break down how to calculate the perfect depth for your plants, how to layer soil for drainage, and what to avoid when building.
By the end, you’ll know exactly how deep to go, what materials to use, and how to keep your beds productive for years—without overcomplicating the process.
Ideal raised garden bed depth for root space and plant growth
When building raised garden beds, the depth of your soil directly impacts plant health and yield. Too shallow, and roots struggle to access nutrients and water; too deep, and you waste space and resources.
The ideal depth depends on what you plan to grow, but most gardeners aim for 6 to 12 inches of soil. This range accommodates shallow-rooted plants like lettuce while still allowing room for deeper-rooted vegetables like carrots or potatoes.
The minimum depth recommendation is 6 inches, which works for herbs, greens, and small vegetables. However, if you’re growing root crops or larger plants, you’ll need at least 12 inches of soil.
For example, a tomato plant can develop roots up to 2 feet deep, while radishes only need about 4 inches. Understanding these differences ensures your garden thrives without unnecessary waste.
Here’s a quick rule of thumb: Measure the mature root depth of your target plants and add 2-3 inches of extra space. This buffer zone allows roots to spread naturally and prevents competition for nutrients.
For instance, carrots need 10-12 inches of loose soil, while strawberries thrive in just 6 inches. Planning ahead saves you from transplanting or dealing with stunted growth later.
| Plant Type | Minimum Depth (inches) | Recommended Depth (inches) | Notes |
|---|---|---|---|
| Herbs (basil, parsley, cilantro) | 4 | 6-8 | Shallow roots; add compost for nutrients. |
| Leafy Greens (lettuce, spinach, kale) | 4 | 6-10 | Fast-growing; rotate crops annually. |
| Root Vegetables (carrots, radishes, beets) | 8 | 10-12 | Loose, stone-free soil required. |
| Fruiting Plants (tomatoes, peppers, cucumbers) | 10 | 12-18 | Deep roots; use trellises for support. |
| Flowers (marigolds, sunflowers, zinnias) | 4 | 6-10 | Most need minimal depth; exceptions like sunflowers may need 12 inches. |
| Perennials/Shrubs (strawberries, raspberries, lavender) | 6 | 12-18 | Long-term growth; amend soil yearly. |
Beyond depth, the soil composition matters just as much. A mix of topsoil, compost, and organic matter ensures your plants have access to essential nutrients. For example, 60% topsoil, 30% compost, and 10% perlite or vermiculite create an ideal growing medium.
This blend improves drainage while retaining moisture, which is critical for root development. If your soil is heavy clay or sandy, adjust the ratio to balance texture and fertility.
Another key factor is drainage. Raised beds should never hold standing water, as this can lead to root rot. To achieve proper drainage, add a 1-2 inch layer of gravel or coarse sand at the bottom of your bed before filling it with soil.
This layer allows excess water to escape while keeping roots insulated. For beds deeper than 12 inches, consider adding a landscape fabric layer between the gravel and soil to prevent clogging.
If you’re growing multiple plant types in one bed, prioritize the deepest-rooted plants along the back or sides. This arrangement prevents competition for space and nutrients. For instance, place tomato plants at the back of a 12-inch-deep bed and lettuce in the front.
This vertical layering maximizes your garden’s productivity while keeping maintenance manageable. Always leave at least 12 inches of space between plants with similar root depths to avoid overcrowding.
For container gardening or small spaces, consider stackable raised beds or vertical planters. These designs allow you to create deeper soil profiles in limited areas. For example, a two-tiered bed can provide 12 inches of depth in a compact footprint, perfect for growing carrots or potatoes in urban settings.
Just ensure each tier has proper drainage and support to avoid collapsing under the weight of soil and plants.
Great drainage is the backbone of healthy raised beds—it prevents root rot, waterlogging, and nutrient leaching while keeping your plants thriving. The depth of your bed plays a crucial role in how water moves through the soil. Shallow beds (6 inches) may work for herbs and lettuce, but deeper beds (12+ inches) are essential for root vegetables like carrots and potatoes. Even with the right depth, using the wrong materials can create drainage bottlenecks. Most gardeners overlook the layering sequence inside raised beds. A common mistake is skipping the drainage layer at the bottom, which forces water to sit instead of flow. I’ve seen beds with clay-heavy soil that stay soggy for weeks after rain—until I added a 4-inch gravel layer with landscape fabric. The fabric prevents soil from clogging the gravel while still allowing water to drain freely. For sandy soils, you might need to adjust by adding more organic matter to slow drainage. For optimal drainage, I recommend starting with a 4-inch layer of gravel or coarse sand at the bottom, topped with landscape fabric to keep soil out. Next, add a 6-inch layer of compost mixed with native soil to balance fertility and aeration. This setup ensures water flows downward while retaining moisture for roots. If you’re using cedar or untreated wood for framing, avoid sealing the inside—it can trap moisture and lead to mold or rot. Troubleshooting drainage issues often starts with checking your bed’s material composition. If water pools after rain, your drainage layer may be too thin or clogged with soil particles. I’ve fixed this by adding a perforated drain pipe along one side, covered with gravel. For beds with clay-heavy soil, mix in perlite or vermiculite to improve aeration. Always test your bed’s drainage by watering it thoroughly and observing how quickly excess water drains away—it should take no longer than 30 minutes. Don’t forget that bed height also affects drainage. Taller beds (12+ inches) allow for better water flow, especially in heavy clay soils. If you’re building multiple beds, place them on slight slopes to encourage runoff. For container-like beds, ensure the sides have small gaps or use slotted drainage boards to prevent water from pooling against the walls. With the right depth and materials, your raised beds will stay dry, aerated, and fertile all season long. 🌱Drainage solutions for raised beds: depth and material choices
How Deep to Make Raised Garden Beds
Pros
Cons
Pros
Cons
Pros
Cons