
Picking
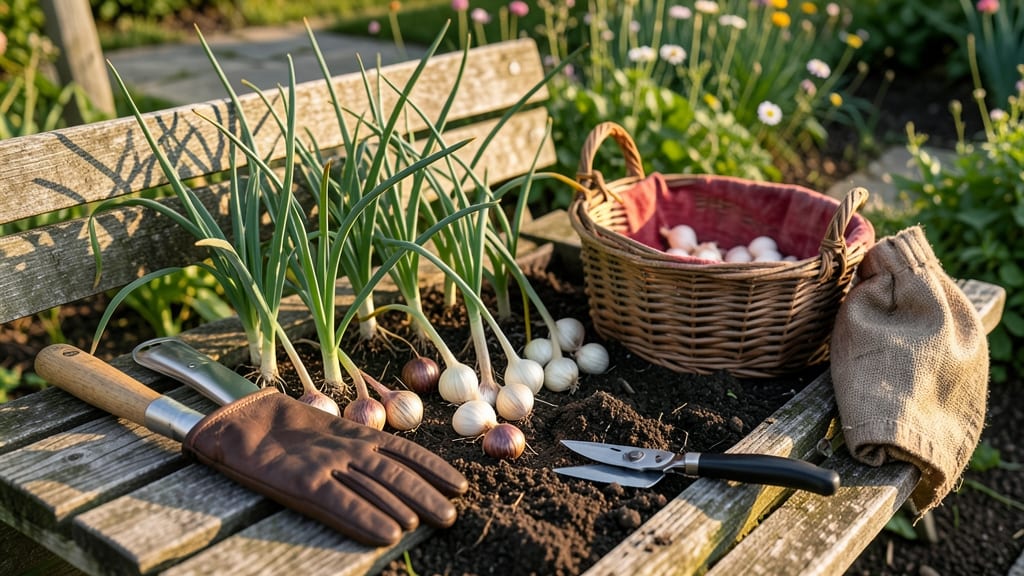
Harvesting shallots from your garden at the right time ensures you get those flavor-packed bulbs that last through the winter, but many gardeners miss the window—or worse, dig too early and ruin the harvest.
Shallots—those pungent, versatile alliums—can transform your garden into a flavor powerhouse, but timing and technique are everything when it comes to harvesting them for peak taste and storage potential.
If you’ve ever pulled up a shallot too soon and found it still soft or underdeveloped, you know how disappointing that can be. But get it right, and you’ll end up with firm, papery-skinned bulbs that store beautifully for months.
In this guide, I’ll walk you through exactly when to harvest (based on leaf color and bulb size), the best tools to use, and how to cure and store them so they stay fresh all season long.

When to harvest shallots for peak flavor and storage success
Harvesting shallots at the right moment ensures maximum flavor and long-term storage potential. Unlike onions, shallots develop best when their foliage yellows and bulbs mature underground. Timing depends on your climate zone, but most gardeners wait until late summer or early fall for peak harvests.
For spring-planted shallots, aim to harvest between 90-120 days after planting, typically in July-August. If you planted in fall, harvest in late fall before the first frost. Regional adjustments are key—cooler climates may extend harvest windows, while hotter zones require earlier harvesting.
Here’s how to identify the perfect harvest window:
| Harvest Indicator | What to Look For | Best For |
|---|---|---|
| Foliage Color | Yellowing tops, 50% wilted | Fresh use or storage |
| Bulb Size | 1-2 inches in diameter | Storage success |
| Skin Texture | Dry, papery, no moisture | Long-term storage |
| Top Growth | Collapsed or lying flat | Immediate harvest |
| Seasonal Timing | Late summer (Zone 5-7) or early fall (Zone 8+) | Climate-specific |
If you’re harvesting for immediate use, like cooking or fresh salads, you can pull shallots slightly earlier when foliage yellows but is still upright. For long-term storage, wait until the tops are fully wilted and bulbs are firm to the touch. This ensures they’ll last through winter.
In cooler climates (Zones 3-5), harvest shallots in late summer before the first frost. If you miss this window, they may rot in the ground. In warmer zones (Zones 8-10), you can extend harvesting into early fall, but avoid wet soil to prevent disease.
One common mistake is harvesting too late, which leads to soft bulbs or sprouting. Always check for firmness—if a bulb feels mushy, it’s overripe. For storage success, aim for bulbs that are dry on the outside but still crisp inside.
Balancing fresh use and storage depends on your harvest goals. If you need shallots for immediate recipes, harvest a few bulbs when foliage starts yellowing. For long-term storage, wait until tops are completely wilted and bulbs are fully mature.
Pro tip: Test a few bulbs first by gently squeezing them. If they’re firm and dry, the rest are ready. If they’re still soft or moist, wait another week. Patience pays off for the best flavor and storage life!
🌱
Step-by-Step shallot harvesting techniques for maximum yield
Harvesting shallots at the right time ensures peak flavor and long-term storage potential. Unlike onions, shallots form clusters of bulbs, so gentle handling is key to avoid damage. The perfect harvest window occurs when foliage yellows and begins to die back—typically 105-120 days after planting.
Timing is critical because overripe bulbs split easily, while underripe ones lack full flavor.
Before digging, prepare your tools: a sharp garden fork, pruning shears, and a basket for sorting. Work on a dry, sunny day to speed up curing. Avoid harvesting after rain, as wet bulbs are prone to rot.
If you’re unsure about readiness, gently lift one bulb to check—it should feel firm and dry with papery skin.
🌱 Step-by-Step Shallot Harvesting Guide
- 🔹 Step 1: Loosen Soil Gently
Use a garden fork to lift soil around the base of the plant, working in a circle to avoid piercing bulbs. Aim for 2-3 inches deep to release the entire cluster. - 🔹 Step 2: Lift Clusters Carefully
Grasp the foliage and pull upward to extract the entire bulb cluster. Shake off excess soil, but don’t rinse—dirt protects the bulbs during curing. - 🔹 Step 3: Separate Bulbs
Break apart the cluster by hand or with pruning shears. Discard any bulbs with soft spots or mold. Keep only firm, dry-looking shallots for storage. - 🔹 Step 4: Trim Foliage
Cut the green tops back to 1-2 inches above the bulb. This reduces moisture loss during curing and prevents rot. - 🔹 Step 5: Cure in Bright Light
Spread bulbs in a single layer on a mesh screen or paper towels in a shady, well-ventilated spot (like a garage or porch). Cure for 2-3 weeks until skins are fully dry and papery. - 🔹 Step 6: Store Properly
Once cured, store shallots in a cool, dark place (like a mesh bag or cardboard box) with good airflow. Avoid plastic bags to prevent mold.
One common mistake is harvesting too late—overripe shallots split and spoil quickly. Another is rinsing bulbs before curing, which traps moisture and encourages rot. If you notice shriveled bulbs during storage, they were likely harvested too early.
For longer shelf life, braid cured shallots like garlic to keep them organized and protected.
After curing, your shallots should last 4-6 months in ideal conditions. If stored properly, you’ll have a flavorful harvest ready for soups, salads, and caramelized dishes all winter long. The key is patience—rushing the curing process leads to shorter storage life and wasted yield.
For next year, save the largest, healthiest bulbs to replant. Break them into individual cloves and plant in well-draining soil with full sun. With these techniques, you’ll turn your garden into a shallot-producing machine year after year! 🌱