
Tools
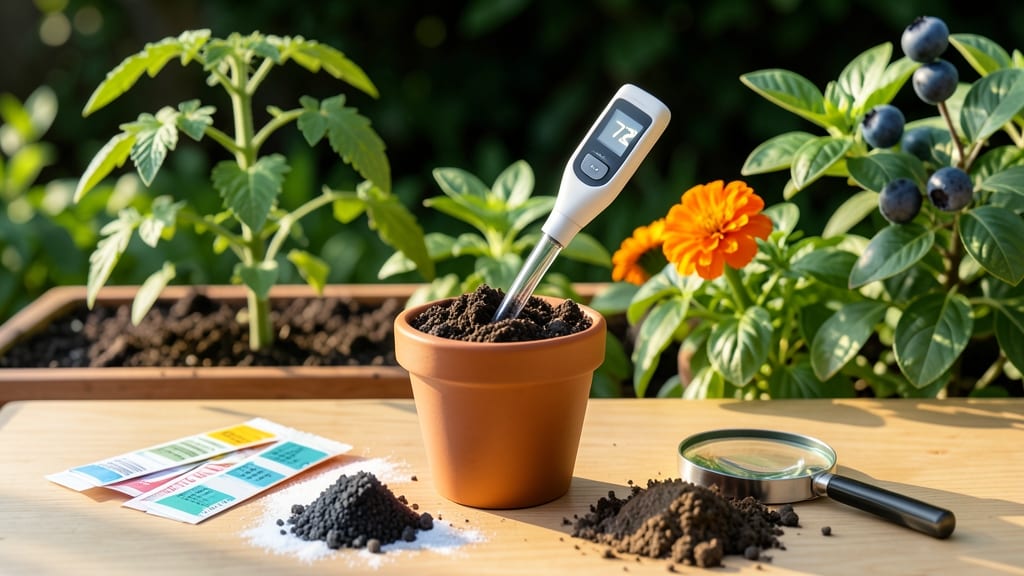
A garden pH meter helps you test soil acidity by calibrating with pH 4 and 7 solutions, inserting the probe into moist soil, and waiting 30 seconds for a stable reading. Compare results to your plants' ideal range (usually 6.0–7.0) and always clean the probe between tests.
A garden pH meter gives you precise soil acidity data, but only if you follow the right steps. 🌱 Calibration is the foundation—using pH 4 and 7 buffer solutions ensures your meter’s accuracy, while skipping this step can lead to readings off by 1 or more points.
I’ve found that testing in moist (not wet) soil prevents false readings, and always waiting the full 30 seconds lets the probe settle into the true pH level.
For example, blueberries thrive at pH 4.5–5.5, while tomatoes prefer 6.0–7.0, so knowing your plants' needs is just as important as the reading itself.
Even with proper use, many gardeners overlook maintenance—dirty probes or old buffer solutions are common culprits for inaccurate results. 💫 Temperature swings can also throw off readings, so test during stable weather conditions.
I recommend recalibrating every 3–6 months, especially if you notice readings drifting outside your expected range. This small habit saves hours of frustration later when your plants aren’t responding as expected.
💡 In This Article
- How to Calibrate a Garden pH Meter for Accurate Readings
- Common Mistakes That Skew pH Meter Readings in Soil
How to calibrate a garden pH meter for accurate readings
Calibrating your soil pH meter is like setting a compass before your hike—it ensures every reading you take is reliable. Start by preparing two buffer solutions: one at pH 4.0 (acidic) and another at pH 7.0 (neutral).
These solutions mimic the extremes of soil pH, allowing your meter to create a linear scale between them. The process begins by rinsing the probe with distilled water (never tap water, as minerals can interfere) and gently blotting it dry with a lint-free cloth.
Then, immerse the probe into the pH 4.0 solution for about 30 seconds while the meter stabilizes—this step trains the sensor to recognize the lower end of the scale.
The real magic happens when you move to the pH 7.0 solution. Here, the meter should read exactly 7.0 after another 30-second wait.
If it doesn’t, your meter may need recalibration or the buffer solutions could be expired (they degrade over time, especially if exposed to light or temperature fluctuations). 🔥 Pro tip: Use fresh buffer solutions every 6–12 months, or whenever readings seem inconsistent.
The calibration process compensates for sensor drift—a natural degradation of the probe’s accuracy over months of use. Think of it like tuning a guitar: small adjustments keep everything in harmony.
Why does this matter so much? Soil pH affects nutrient availability—even a 0.5 pH unit difference can mean the difference between thriving tomatoes and struggling blueberries. For example, a pH 5.5 soil might be perfect for azaleas but toxic to potatoes, which need pH 5.0–6.5.
Calibration errors can mislead you into thinking your soil is ideal when it’s actually off by a full point, leading to wasted time and resources. I’ve seen gardeners add lime to "fix" acidic soil, only to realize their meter was reading 0.8 units high—a costly mistake.
Troubleshooting calibration issues starts with checking your buffer solutions. If they’re cloudy or have changed color, they’re no longer reliable. Next, inspect the probe for damage—cracks or dirt buildup can throw off readings. Some meters have a "calibration adjustment" knob, but most digital models require you to follow on-screen prompts.
If your meter still won’t calibrate, the internal sensor might be failing, and it’s time to invest in a replacement. Remember, a 5-minute calibration now saves hours of frustration later when your plants aren’t responding to amendments.
How often should you recalibrate? For most gardeners, every 3–6 months is ideal, especially if you test soil frequently. Environmental factors like humidity or temperature swings can also affect accuracy—always calibrate in stable conditions (indoors or in a shaded outdoor area).
I keep my calibration kit in a cool, dark place to preserve the buffer solutions, and I label them with the date to track freshness. This small habit ensures your meter stays as precise as the day you bought it.
One common misconception is that calibration is a one-time task. In reality, it’s an ongoing process—like maintaining a scientific instrument. Even high-end meters drift over time, so regular checks are non-negotiable.
For instance, if your meter reads pH 6.8 in a known pH 7.0 buffer, it’s off by 0.2 units, which might seem minor but could mislead you about soil amendments.
Always cross-check with a second method (like a soil test kit) if your plants aren’t thriving despite your meter’s readings.
Finally, consider the type of probe your meter uses. Glass electrode probes (common in professional meters) are more stable than cheaper plastic-tip probes, which can degrade faster. If you’re testing clay-heavy soil, rinse the probe thoroughly between tests—clay particles can clog the sensor and skew readings.
By treating calibration as a ritual—quick, consistent, and thorough—you’ll turn your pH meter into a trusted tool for years to come. 💫