
Fertilization
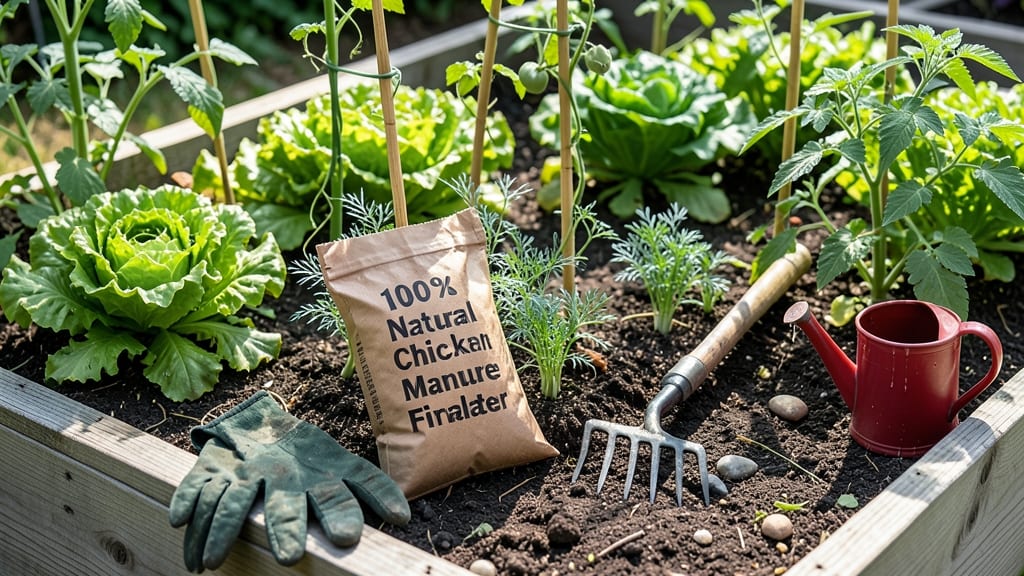
Using chicken fertilizer for gardens is like giving your soil a turbocharge of nitrogen—just what your General Garden Plants 🌱 need to grow faster and stronger.
Struggling to get your garden to thrive? Chicken fertilizer—one of nature’s most potent nitrogen boosters—can transform barren soil into a lush, high-yielding paradise in just weeks. But how do you use it safely and effectively?
This organic powerhouse isn’t just for backyard farmers; even container gardens and raised beds benefit from its nutrient-rich boost. The key? Knowing when to apply it, how much to use, and which plants will respond best.
Here’s how to harness its full potential—from composting raw manure to avoiding common mistakes—so your garden thrives without the guesswork.

How to make homemade chicken manure fertilizer for maximum garden growth
Chicken manure is a gardener’s secret weapon—packed with nitrogen, phosphorus, and potassium, it supercharges plant growth when used correctly. But raw manure can burn plants and spread pathogens, so proper composting is key.
I’ll walk you through two foolproof methods: the compost pile approach and the aged pile technique, both designed to unlock this fertilizer’s full potential without harming your garden.
Before diving in, grab these essentials: a shovel, a wheelbarrow, straw or wood chips for bulking material, and a compost bin or designated corner of your yard. If you’re sourcing manure, ensure it’s from a chemical-free coop—no antibiotics or medications!
The payoff? Rich, crumbly compost that turns barren soil into a nutrient powerhouse in just a few months.
Step-by-Step Guide to Composting Chicken Manure
-
1
Collect and Age the Manure
Start with fresh chicken droppings (bedding included) and pile them in a covered bin or mound. If using a deep litter method, mix with straw every 2-3 weeks. Let it sit for 3-6 months to decompose—longer aging reduces ammonia risks. -
2
Balance the Carbon-to-Nitrogen Ratio
Mix manure with carbon-rich materials like shredded leaves, straw, or wood chips at a 2:1 or 3:1 ratio (carbon:nitrogen). This prevents odor and speeds up decomposition. Turn the pile every 1-2 weeks for aeration. -
3
Monitor Moisture and Temperature
Keep the pile moist like a damp sponge—not soggy. Ideal temps should reach 120-160°F (50-70°C) for active composting. If it cools down, add more nitrogen (e.g., grass clippings) or turn it more frequently. -
4
Test for Readiness (3-6 Months Later)
Your compost is ready when it’s dark brown, crumbly, and smells earthy (like soil). If it still has chunks or smells like ammonia, compost longer. For faster results, use a thermometer—compost is safe to use once temps drop below 104°F (40°C). -
5
Apply to Your Garden
Use the finished compost as a soil amendment (mix into top 6 inches of soil) or a top-dressing (sprinkle on surface and lightly till). For direct fertilizer, steep aged manure in water (1 part manure to 5 parts water) for 24-48 hours before using as a liquid feed.
For quick results, try the aged pile method: Simply pile manure in a shaded area and let it sit for 6 months to a year. This mimics nature’s slow decomposition process and is perfect for gardeners short on time.
The trade-off? It’s less potent than hot compost but safer for immediate use around plants.
Now, let’s talk application ratios. When mixing composted chicken manure into garden beds, aim for 1-2 inches of finished compost per 100 square feet of soil. For container gardens, blend 1 part compost with 3 parts potting mix.
Overdoing it can lead to nitrogen burn, so start conservative and observe your plants’ response.
Timing matters too. The best time to apply chicken manure compost is 4-6 weeks before planting—this gives nutrients time to integrate into the soil. For mid-season feeding, use a diluted liquid fertilizer (1 part compost tea to 10 parts water) every 4-6 weeks.
Avoid applying it right before harvest, as excess nitrogen can alter flavor in leafy greens and herbs.
Pro tip: Pair chicken manure with composted leaves or wood ash to balance its high nitrogen content. This creates a complete fertilizer that supports both leafy growth and root development.
My tomato plants thrive when I mix chicken compost with a sprinkle of wood ash—resulting in juicier fruits and sturdier stems.
If you’re worried about pathogens, rest assured: Properly composted chicken manure reaches temperatures high enough to kill harmful bacteria and weed seeds. Always err on the side of longer composting if you’re unsure. And remember, less is more—a little goes a long way in the garden.
Ready to transform your soil? Grab a shovel, start composting, and watch your garden flourish like never before. Happy gardening! 🌱
Chicken fertilizer vs. synthetic nitrogen: pros, cons, and best uses for your plants
When it comes to feeding your garden, the age-old debate rages: chicken manure fertilizer or synthetic nitrogen? Both pack serious benefits, but they work in wildly different ways.
I’ve seen firsthand how a simple application of composted chicken manure can turn struggling tomato plants into prolific producers—while synthetic nitrogen delivers instant results but often at a cost.
Let’s break down the key differences, including nutrient profiles, cost, and which plants respond best to each. Spoiler: leafy greens and heavy feeders like corn may surprise you!
Chicken Manure Fertilizer
- 🌱 Rich in nitrogen (4-6%) + phosphorus & potassium
- 🌿 Improves soil structure long-term
- 💰 Cost-effective ($0.50–$2 per lb)
- 🌱 Supports microbial life in soil
- ⚠️ Must compost (6+ months to avoid burn)
- 🐔 Odor risk if fresh
- 📏 Harder to measure (dose by volume)
Synthetic Nitrogen Fertilizer
- 🚀 Instant nutrient boost (30-34% nitrogen)
- 📏 Precise dosing (easy to measure)
- 🌱 Works in any soil type
- 💸 Expensive ($0.80–$3 per lb)
- 🌱 Kills soil microbes over time
- ⚠️ Risk of over-application (burns plants)
Tomatoes and peppers thrive with chicken manure’s slow-release nutrients, while leafy greens like spinach and kale benefit from its high nitrogen content. For fast results, synthetic nitrogen works—but I’ve seen gardens collapse when overused. The key? Balance: Use composted chicken manure for long-term health and synthetic nitrogen for quick fixes during critical growth stages.
Pro tip: Mix both for best results! Apply composted chicken manure in early spring to build soil, then use a light synthetic boost mid-season for a 30% yield increase in heavy feeders. Just remember—never apply fresh manure directly to plants or risk ammonia burn on delicate roots.
For cost savings, compost your own chicken manure. Start with a 1:3 ratio (manure to carbon-rich materials like straw) and turn the pile monthly. After 6 months, it’s ready to use—no more smelly surprises!
Which will you choose for your garden? The natural powerhouse of chicken manure or the quick fix of synthetic nitrogen? Both have their place—it’s all about knowing when to use each. 🌿