
Tools
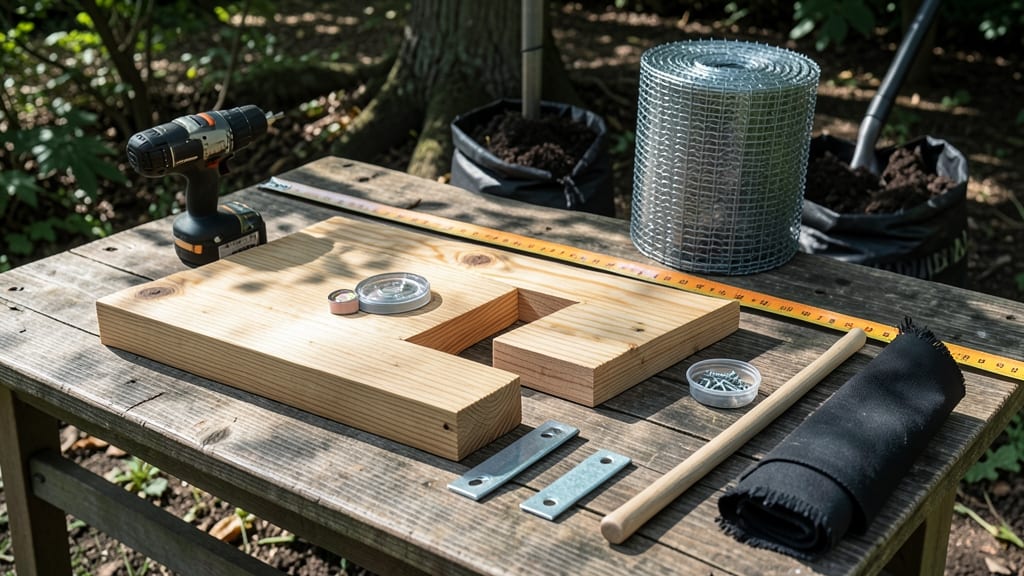
Building a 2x4 raised garden bed with these simple plans is the easiest way to create a low-maintenance, high-yield space for your favorite veggies, herbs, or flowers—without the backache of bending over.
Picture this: a compact, sturdy frame that fits snugly in a corner, on a patio, or even a balcony, yet delivers bountiful harvests year-round. The key? Simple, customizable plans that work for any skill level, whether you’re a first-time gardener or a DIY pro looking to upgrade your setup.
No more struggling with uneven soil or weeds choking your plants—these beds solve those problems while giving you full control over drainage, soil quality, and even height. Plus, with free layouts for 4x8-foot or smaller spaces, you can start small and scale up as your green thumb grows.
Below, I’ll walk you through the exact materials, cutting tips, and assembly steps to build a bed that lasts for years—plus creative designs to maximize every square inch of your garden.
Free 2x4 raised garden bed plans: step-by-step DIY layouts for beginners
Building a 2x4 raised garden bed is one of the most rewarding DIY projects for new gardeners. These beds are affordable, customizable, and perfect for growing veggies, herbs, or flowers without the strain of bending over.
Whether you have a 4x8-foot patio or a tiny balcony, these plans will help you create a sturdy, long-lasting garden foundation that fits your space perfectly.
Before you start, choose between cedar wood (naturally rot-resistant) or untreated pine (cheaper but requires sealing). Cedar lasts 10-15 years with minimal maintenance, while pine may need annual sealing to prevent warping.
For this guide, we’ll focus on a 4x8-foot bed—the most popular size—but I’ll also include adjustments for 4x4-foot and custom layouts.
Gather your tools: a circular saw, drill, deck screws (2.5 inches), corner brackets, level, tape measure, and gloves. Safety first! Wear eye protection when cutting wood, and work on a flat, stable surface.
If you’re building on grass, lay down cardboard or plywood to protect your knees and keep screws from sinking into the ground.
Step-by-Step Assembly for a 4x8-Foot 2x4 Raised Garden Bed
-
Step 1: Cut Your Lumber
For a 4x8-foot bed, you’ll need:- 2 pieces of 2x4 lumber cut to 8 feet (long sides)
- 2 pieces of 2x4 lumber cut to 4 feet (short sides)
- 4 pieces of 2x4 lumber cut to 12 inches (corner braces, optional)
-
Step 2: Assemble the Frame
Lay the 8-foot pieces parallel to each other, then attach the 4-foot pieces at each end using 3 screws per corner. Pre-drill holes to prevent wood splitting. Use a level to ensure all corners are square. -
Step 3: Add Corner Braces (Optional but Recommended)
Cut 2x4 scraps into 12-inch pieces and attach them diagonally inside each corner with 2 screws per brace. This adds stability, especially for taller beds (12 inches or higher). -
Step 4: Reinforce the Structure
Add horizontal 2x4 supports every 2 feet along the inside of the long sides. This prevents sagging and creates pockets for drainage material (like gravel or landscape fabric). -
Step 5: Prepare for Drainage
Line the bottom with landscape fabric or hardware cloth to block weeds and pests. Add a 2-inch layer of gravel or coarse sand for drainage, then top with cardboard (to suppress weeds) before filling with soil. -
Step 6: Fill with Soil
Use a mix of:- 60% topsoil (for nutrients)
- 30% compost (for fertility)
- 10% perlite or vermiculite (for aeration)
-
Step 7: Seal the Wood (If Using Untreated Pine)
Apply a non-toxic wood sealant to protect against moisture and UV rays. Reapply every 1-2 years for longevity. Cedar can skip this step but benefits from an occasional coat. -
Step 8: Position and Enjoy!
Place your bed in full sun (6+ hours daily) for most veggies. Avoid placing it directly on grass to prevent rot. Add mulch around the base to retain moisture and suppress weeds.
For a 4x4-foot bed, simply adjust the short sides to 4 feet and reduce the number of horizontal supports to 2 per side. Custom sizes? Scale the dimensions proportionally—just ensure the frame can support the weight of soil and plants.
Pro tip: Use galvanized screws to prevent rust and extend the bed’s lifespan.
If you’re short on space, consider a 3-foot-wide bed—it’s easier to reach the center without stepping inside. For taller beds (18+ inches), add additional corner braces and reinforce the frame with plywood sheets on the sides to prevent warping.
Always leave at least 3 feet of clearance around the bed for easy maintenance.
One common mistake is skipping the drainage layer, which can lead to soggy soil and root rot. If your bed is in a low-lying area, elevate it with bricks or cinder blocks to improve drainage.
For extra durability, consider pressure-treated lumber, though it’s less eco-friendly and requires sealing to avoid chemical leaching.
Once your bed is built, let it sit for 1-2 weeks before planting to allow the soil to settle. Start with fast-growing plants like radishes or lettuce to test your soil’s fertility.
Over time, you’ll learn which crops thrive in your microclimate—and your 2x4 raised garden bed will become the heart of your gardening adventures! 🌱
5 Creative 2x4 raised garden bed designs to maximize space and productivity
Small spaces don’t mean small harvests! With 2x4 raised garden bed designs, you can transform tight yards or balconies into high-yielding gardens. The key lies in smart layouts that leverage vertical space, companion planting, and seasonal rotations.
Whether you have a 4-foot square or a narrow 2-foot strip, these innovative designs prove that productivity isn’t tied to square footage.
My favorite approach combines vertical growing with tiered structures to double your growing area. For example, a two-tiered bed lets you grow leafy greens on the bottom while training cucumbers or beans up a trellis on top.
This space-saving hack works especially well for herbs and compact veggies like lettuce, radishes, and cherry tomatoes.
- 1 Spiral Design: A circular 2x4 bed with radiating sections for companion planting. Place tall plants like tomatoes in the center and shade-tolerant lettuce on the outer edges. This design maximizes sunlight exposure for all plants.
- 2 Corner Pocket: Build a L-shaped 2x4 bed in unused corners to utilize dead space. Add a vertical trellis along one side for pole beans or zucchini, freeing up ground space for bushier plants like peppers or basil.
- 3 Tiered Stack: Create a 3-tiered system with each level 12 inches deep. Reserve the top tier for fast-growing crops like radishes or bush beans, the middle for medium-height plants like carrots, and the bottom for root crops like potatoes.
- 4 Keyhole Garden: A circular bed with a central compost hole for continuous nutrient supply. Ideal for small urban gardens, this design lets you grow layered crops like onions in the center, squash in the middle, and strawberries around the edges.
- 5 Vertical Slats: Attach horizontal 2x4 slats to the sides of your bed to create pockets for shallow-rooted plants like strawberries or green onions. This adds 30% more growing space without expanding your footprint.
For seasonal crop rotation, I recommend dividing your bed into quadrants and switching plant families yearly. For example, plant nightshades (tomatoes, peppers) in one quadrant in spring, then legumes (beans, peas) in summer, and brassicas (kale, broccoli) in fall. This breaks pest cycles and keeps your soil balanced.
Don’t overlook the power of vertical trellises—they’re game-changers for climbing plants. Install a DIY trellis using chicken wire or bamboo stakes along one side of your bed. Train cucumbers, squash, or pole beans upward to save space and improve air circulation, reducing disease risk.
Pro tip: Use companion planting charts to pair plants that benefit each other. For example, basil near tomatoes deters pests, while carrots and onions grow well together. Sketch your bed layout beforehand to visualize spacing—most vegetables need 6-12 inches apart, while herbs can thrive in tighter clusters.
With these creative 2x4 raised garden bed designs, you’ll turn limited space into a high-yielding oasis—no matter how small your area. Start with one design, track your progress, and expand next season! 🌱